Editing Anchors
Overview
Once an anchor has been established between an ASBO and a database table, the column-to-attribute mappings can be edited to modify existing relationships, add new mappings, or remove outdated ones.
---## Accessing the Anchor Editor
To edit existing anchor mappings:
- Open the Template Editor for the template containing your anchored ASBO
- Navigate to the Resource Types section
- Locate the anchored ASBO you want to modify
- Click the "Edit Anchors" button
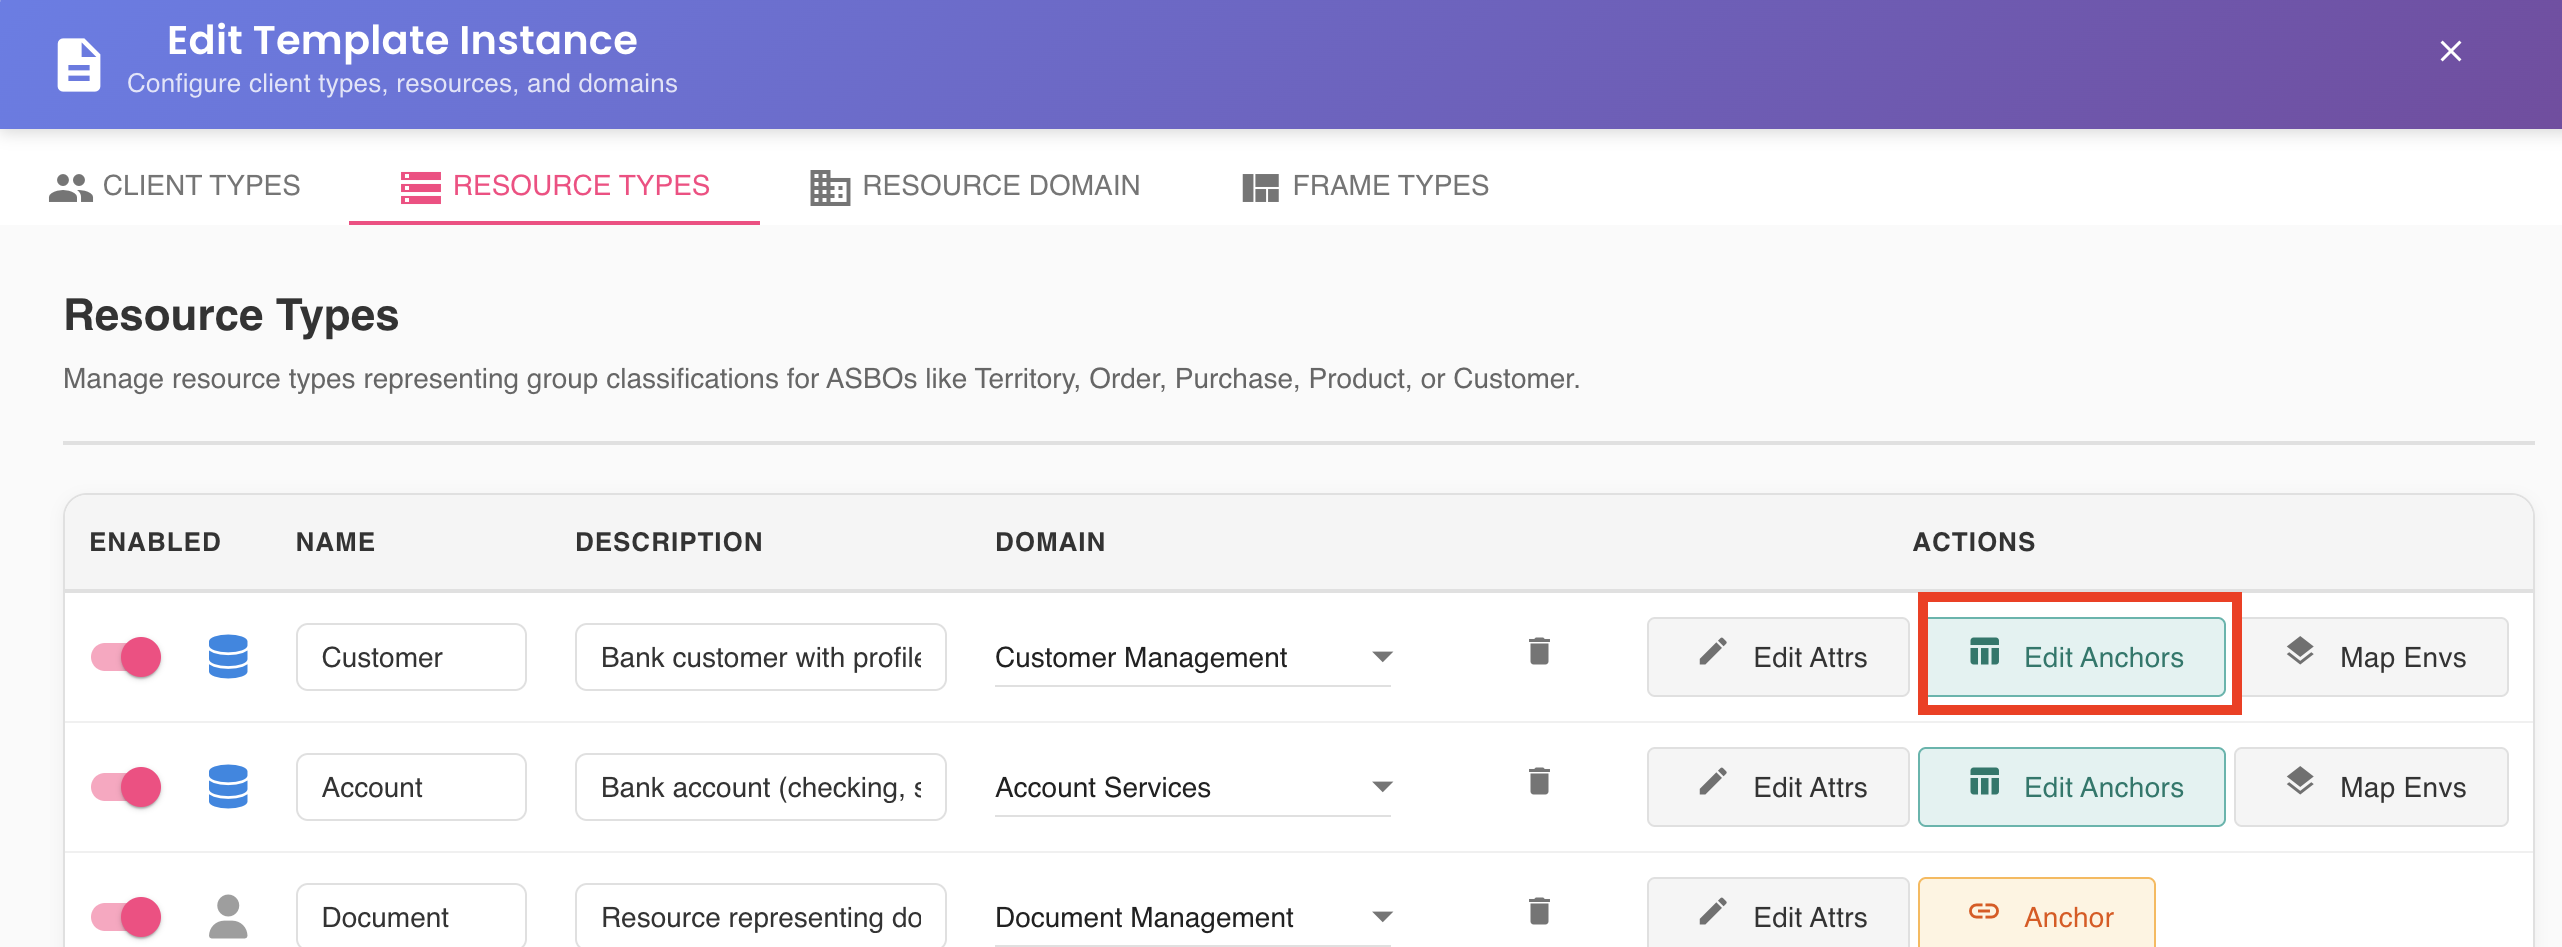
Button Availability
The "Edit Anchors" button only appears for ASBOs that are already anchored. Unanchored ASBOs display an "Anchor" button instead.
Master Datasource Must Be Online
The "Edit Anchors" button is only enabled when the master datasource associated with the ASBO is currently ONLINE.
If the master datasource is offline, the button will appear dimmed and non-interactive. Hovering over it will display the message:
"The master datasource is OFFLINE. Bring it online to edit anchor mappings."
To restore access, ensure the agent responsible for the master datasource is running and that the datasource connection is active. Once the datasource comes back online, reopen the Template Editor — the button will be enabled automatically.
Modifying Mappings in the Table Mapper
When you click "Edit Anchors", you are automatically navigated to the Table Mapper interface with your existing mappings loaded.
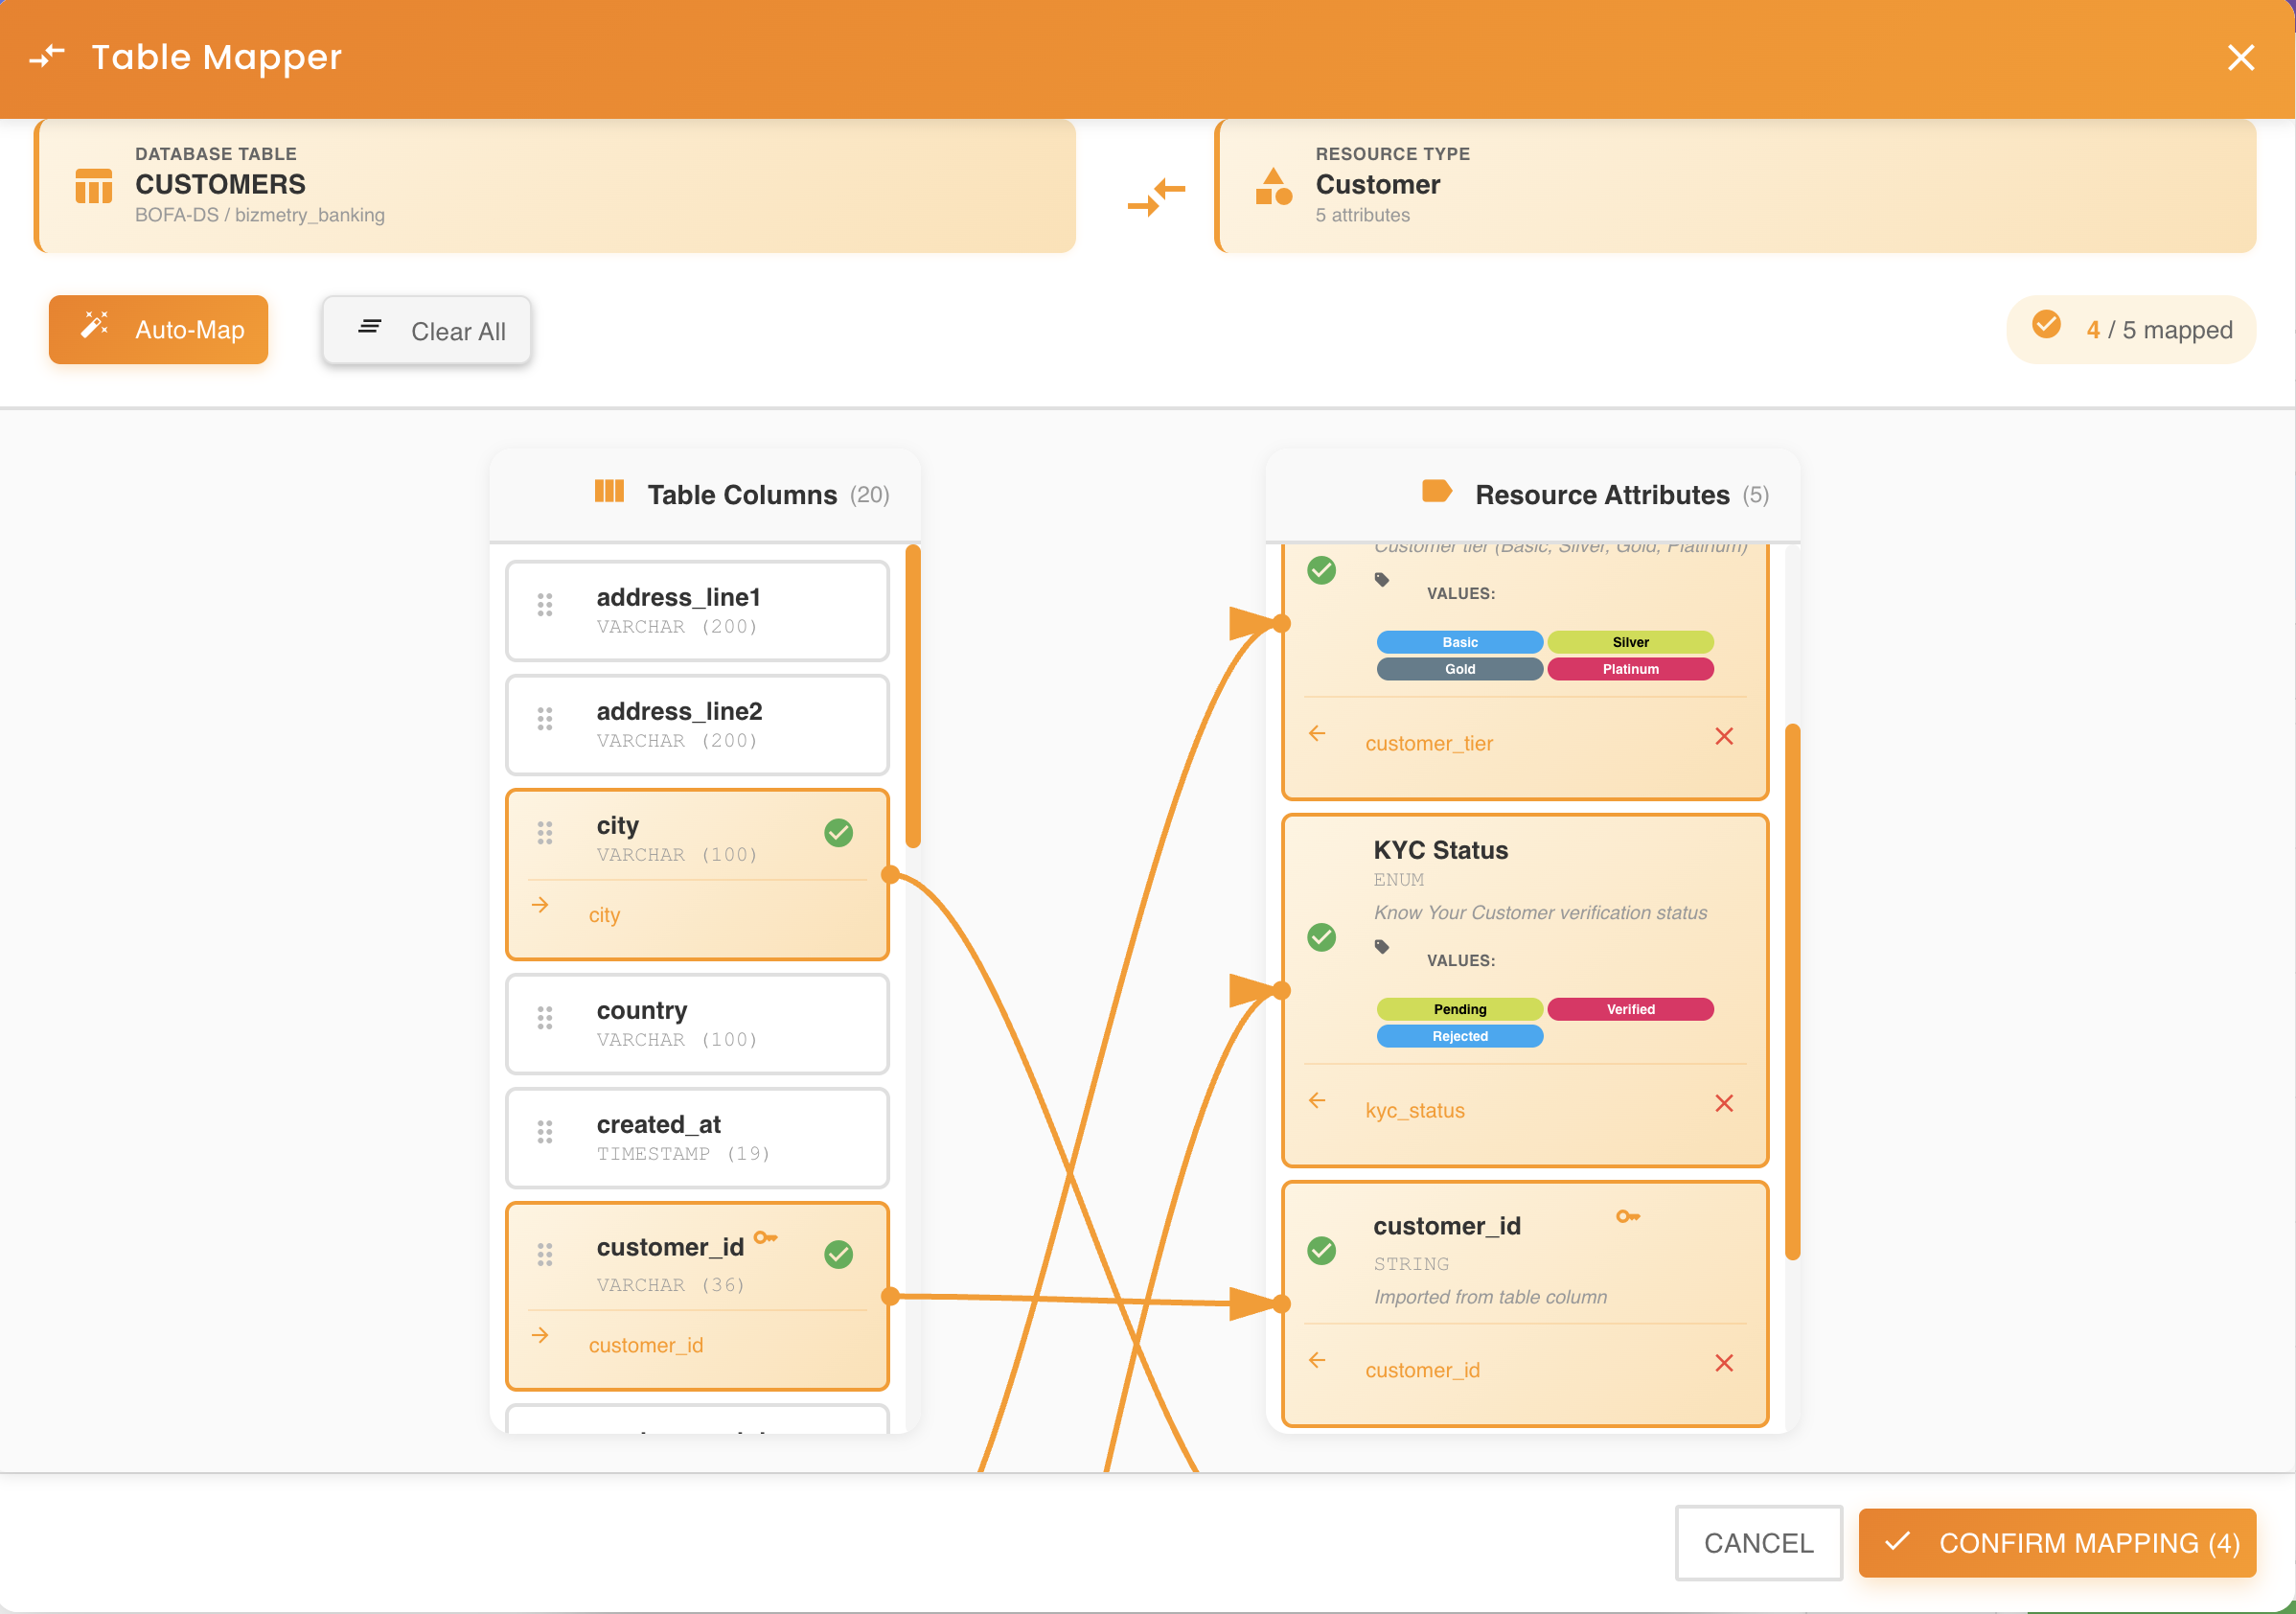
Available Operations
In edit mode, you can perform the following operations:
Add New Mappings
Map previously unmapped attributes to database columns: - Drag a column from the left panel to an unmapped attribute on the right - The mapping is created immediately
Remove Existing Mappings
Unmap attributes by clicking the "X" button on the attribute card in the right panel.
Change Mappings
Replace an existing mapping: 1. Remove the current mapping by clicking the "X" button 2. Drag a different column to the same attribute
Create New Attributes
Add new attributes to your ASBO from database columns: - Drag a column to the drop zone at the top of the attributes list - A new attribute is created and mapped automatically
Apply Type Mutations
Resolve type incompatibilities by clicking "Mutate Type" when a type mismatch warning appears.
Use Automation Tools
- Auto-Map: Automatically create mappings based on name and type similarity
- Clear All: Remove all existing mappings to start fresh
Two-Step Save Process
Saving anchor mapping changes requires two distinct steps. Both steps are mandatory to persist your changes.
Step 1: Confirm Mappings (Session Save)
After making your desired changes in the Table Mapper:
- Review all modifications
- Click the "Confirm Mappings" button at the bottom of the Table Mapper
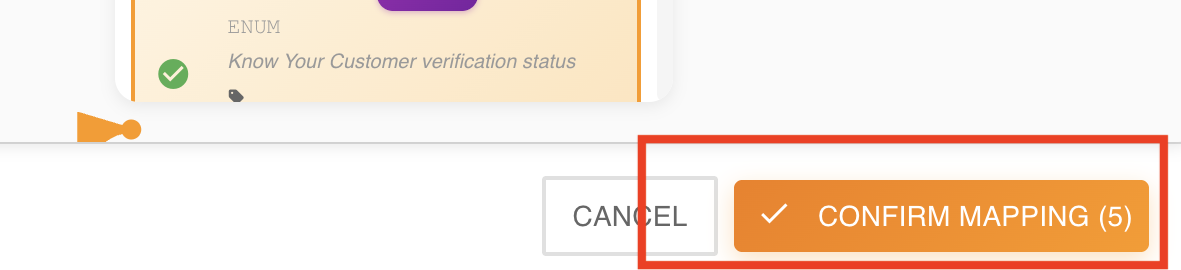
What happens: - Your changes are saved to your current editing session - The Table Mapper closes - You are returned to the Template Editor - Changes are visible but not yet persisted
Not Yet Saved
At this point, your mapping changes are temporary. They will be lost if you close the template editor without completing Step 2.
Step 2: Save Changes (Persistent Save)
To permanently save your anchor mapping changes:
- In the Template Editor dialog, click the "Save Changes" button
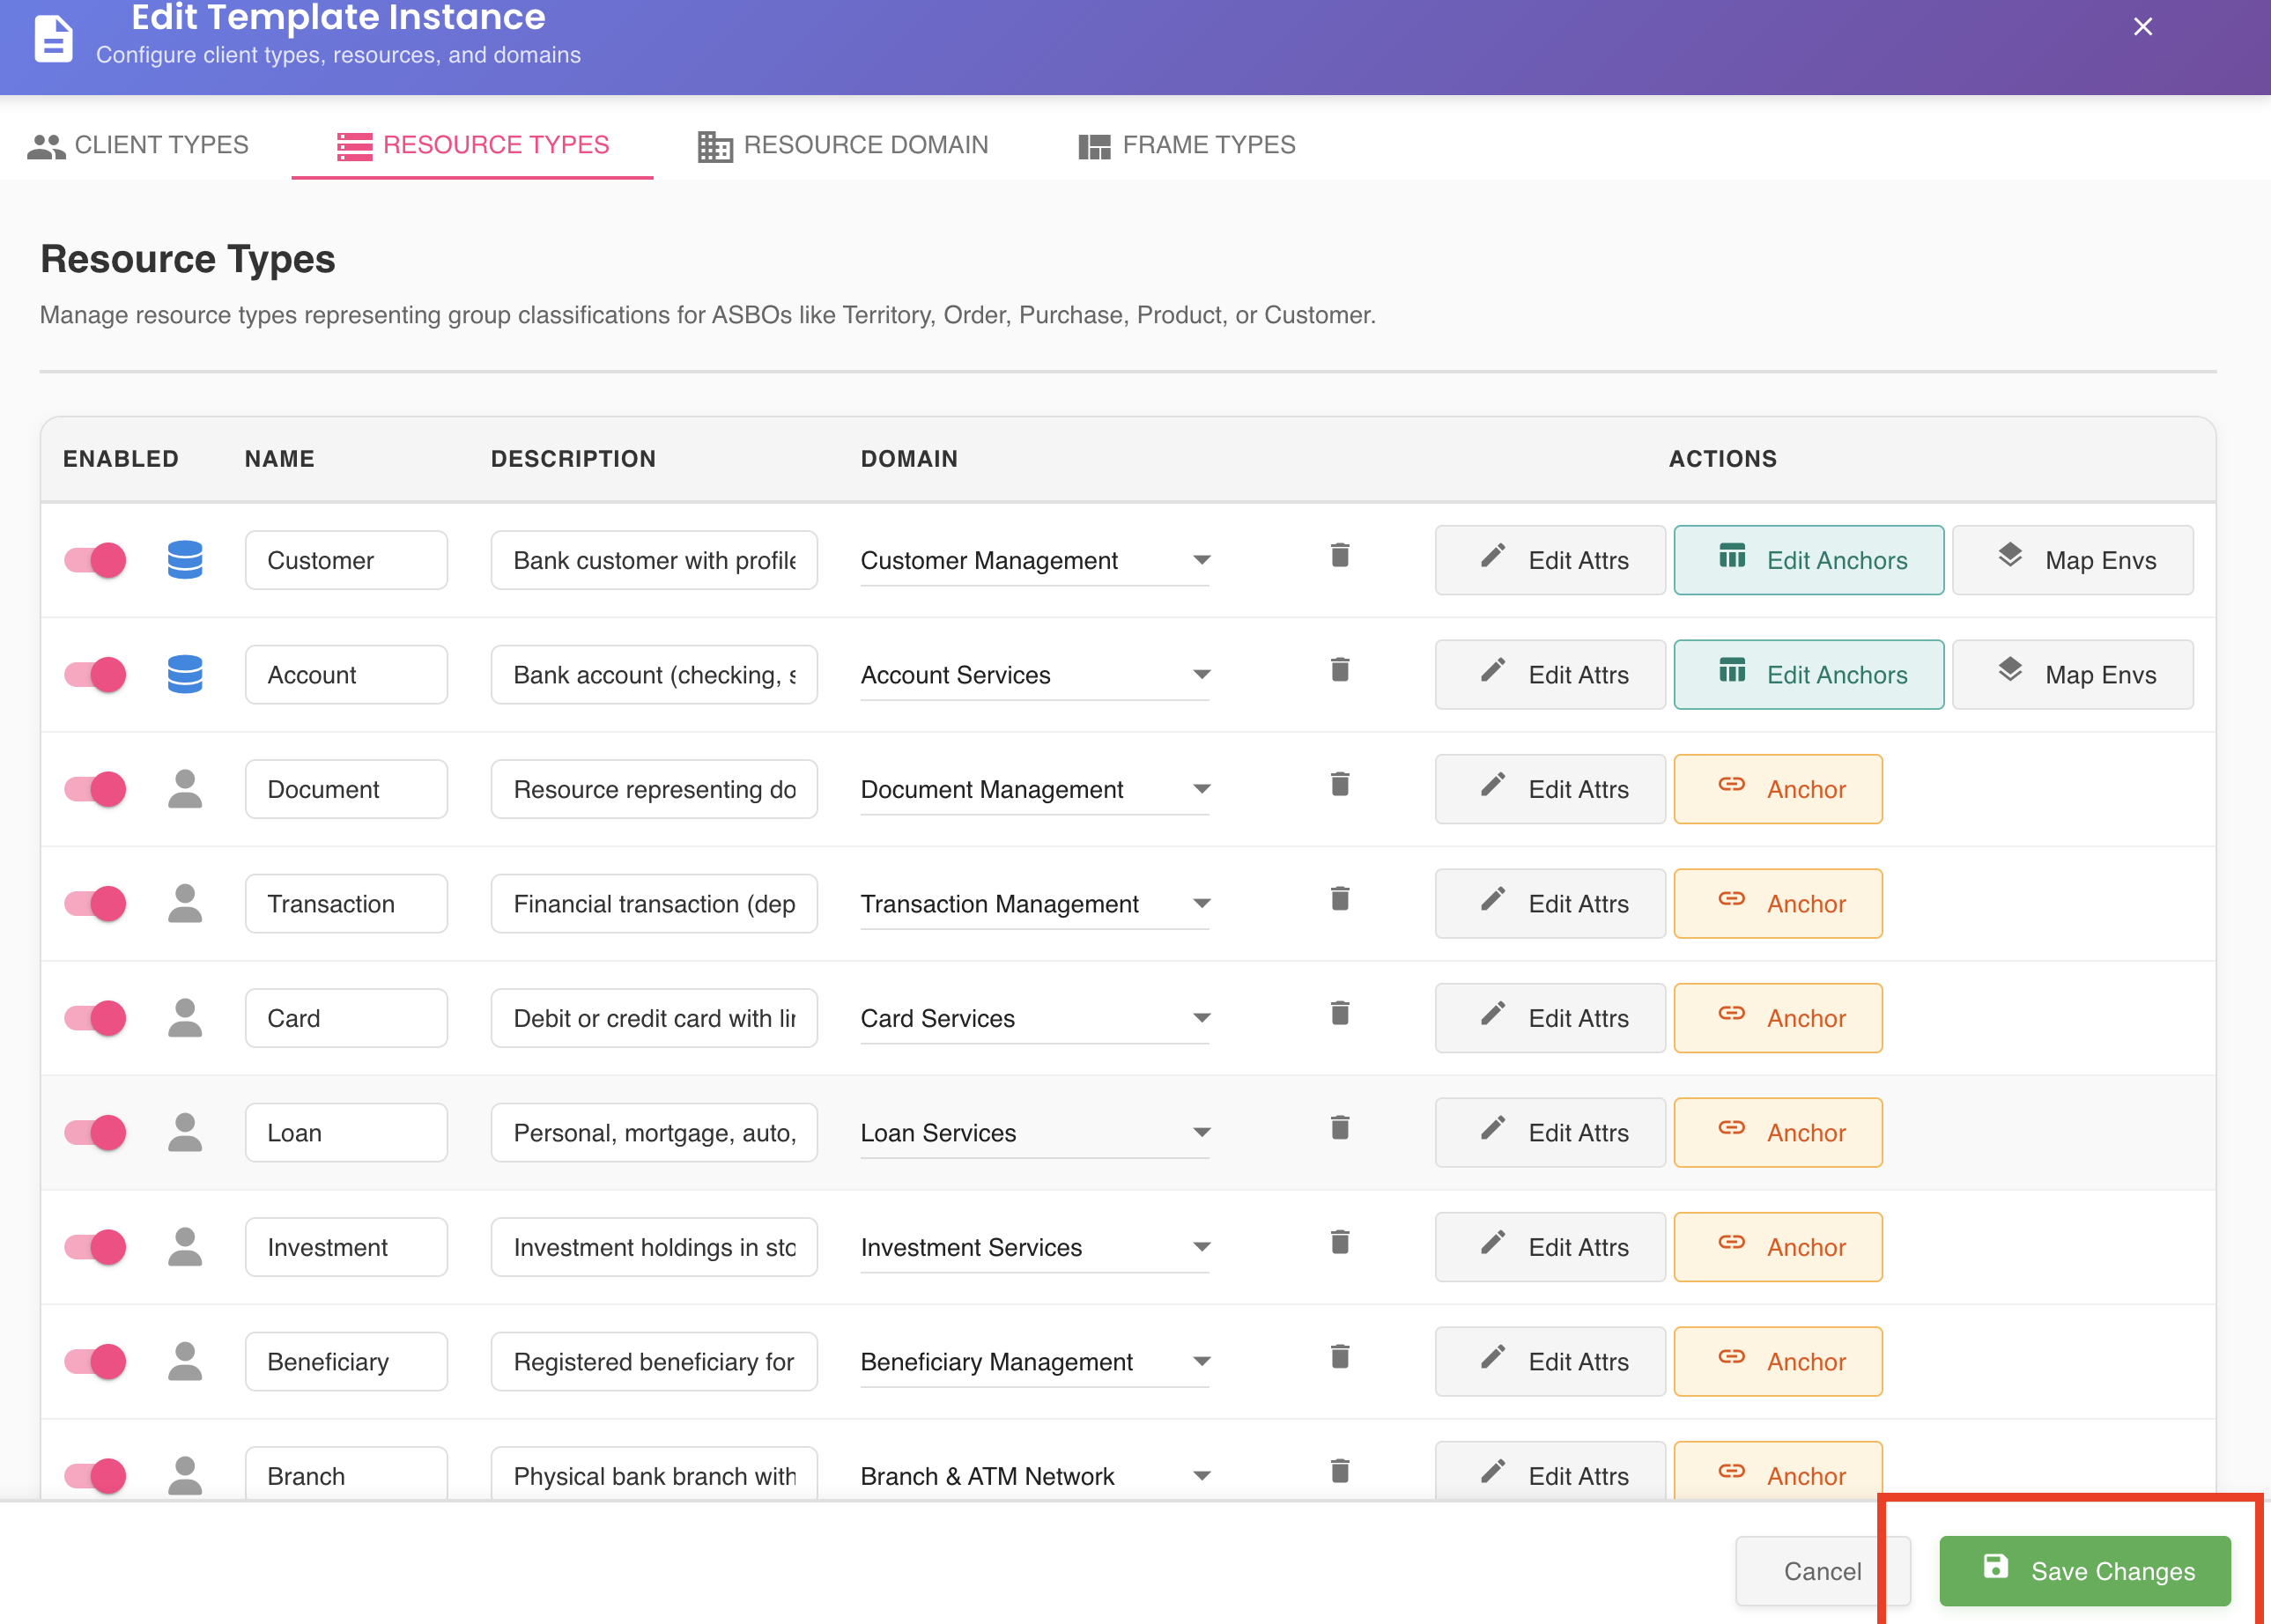
What happens: - All template changes, including mapping modifications, are permanently persisted to your profile - The updated anchor configuration is stored in the master environment mapping - If applicable, resource reconciliation is triggered automatically (see below)
Critical: Do Not Skip Step 2
Clicking "Confirm Mappings" alone is not sufficient to save your work. You must also click "Save Changes" in the template editor to persist your mapping changes permanently.
Save Process Diagram:
Table Mapper
   ↓
[Confirm Mappings] → Session-level save (temporary)
   ↓
Template Editor
   ↓
[Save Changes] → Profile-level save (permanent) ← REQUIRED!
Automatic Resource Reconciliation
When you save template changes that modify mappings for specific critical attributes, BizMetry automatically triggers a resource reconciliation process.
When Reconciliation Triggers
Reconciliation is automatically triggered when you save changes to mappings for attributes marked as:
- RN (Resource Name): Attributes that generate the resource name
- RD (Resource Description): Attributes that generate the resource description
- PK (Primary Key): Attributes that serve as the primary key
Critical Attributes Only
Reconciliation only occurs when RN, RD, or PK mappings are modified. Changes to other attribute mappings do not trigger reconciliation.
What Reconciliation Does
The reconciliation process:
- Identifies all existing resources associated with the modified ASBO
- Updates those resources to reflect the new column mappings
- For each resource:
- If RN changed: Regenerates the resource name from the new column
- If RD changed: Regenerates the resource description from the new column
- If PK changed: Updates the primary key value from the new column
- Persists all updated resources
Example Scenario
Before: - ASBO: Client - RN mapping: client_name column - Existing resources: 500 clients
Changes: - Edit anchor and change RN mapping to full_client_name column - Click "Confirm Mappings" → "Save Changes"
Reconciliation: - Automatically triggered after save - All 500 client resources have their names regenerated using the full_client_name column - Resources now display updated names based on the new mapping
Automatic Process
Reconciliation happens automatically in the background. You don't need to manually trigger or manage this process.
Quick Reference
Editing Workflow
- Click "Edit Anchors" in Template Editor
- Modify mappings in Table Mapper
- Click "Confirm Mappings" (session save)
- Click "Save Changes" in Template Editor (persistent save)
Key Points
- ✓ Edit mode provides full Table Mapper functionality
- ✓ Two-step save is required: Confirm Mappings + Save Changes
- ✓ Reconciliation triggers automatically for RN/RD/PK changes
- ✓ All existing resources are updated to reflect new mappings