Creating a New Interceptor — End-to-End Walkthrough
This section walks through the full Create New Biz Interceptor wizard, from opening it on the Biz Interceptors tab to landing on the newly created interceptor in the list.
Use this page as the entry point, then follow the step-by-step child pages for the details of each wizard screen.
Entry point — Biz Interceptors tab
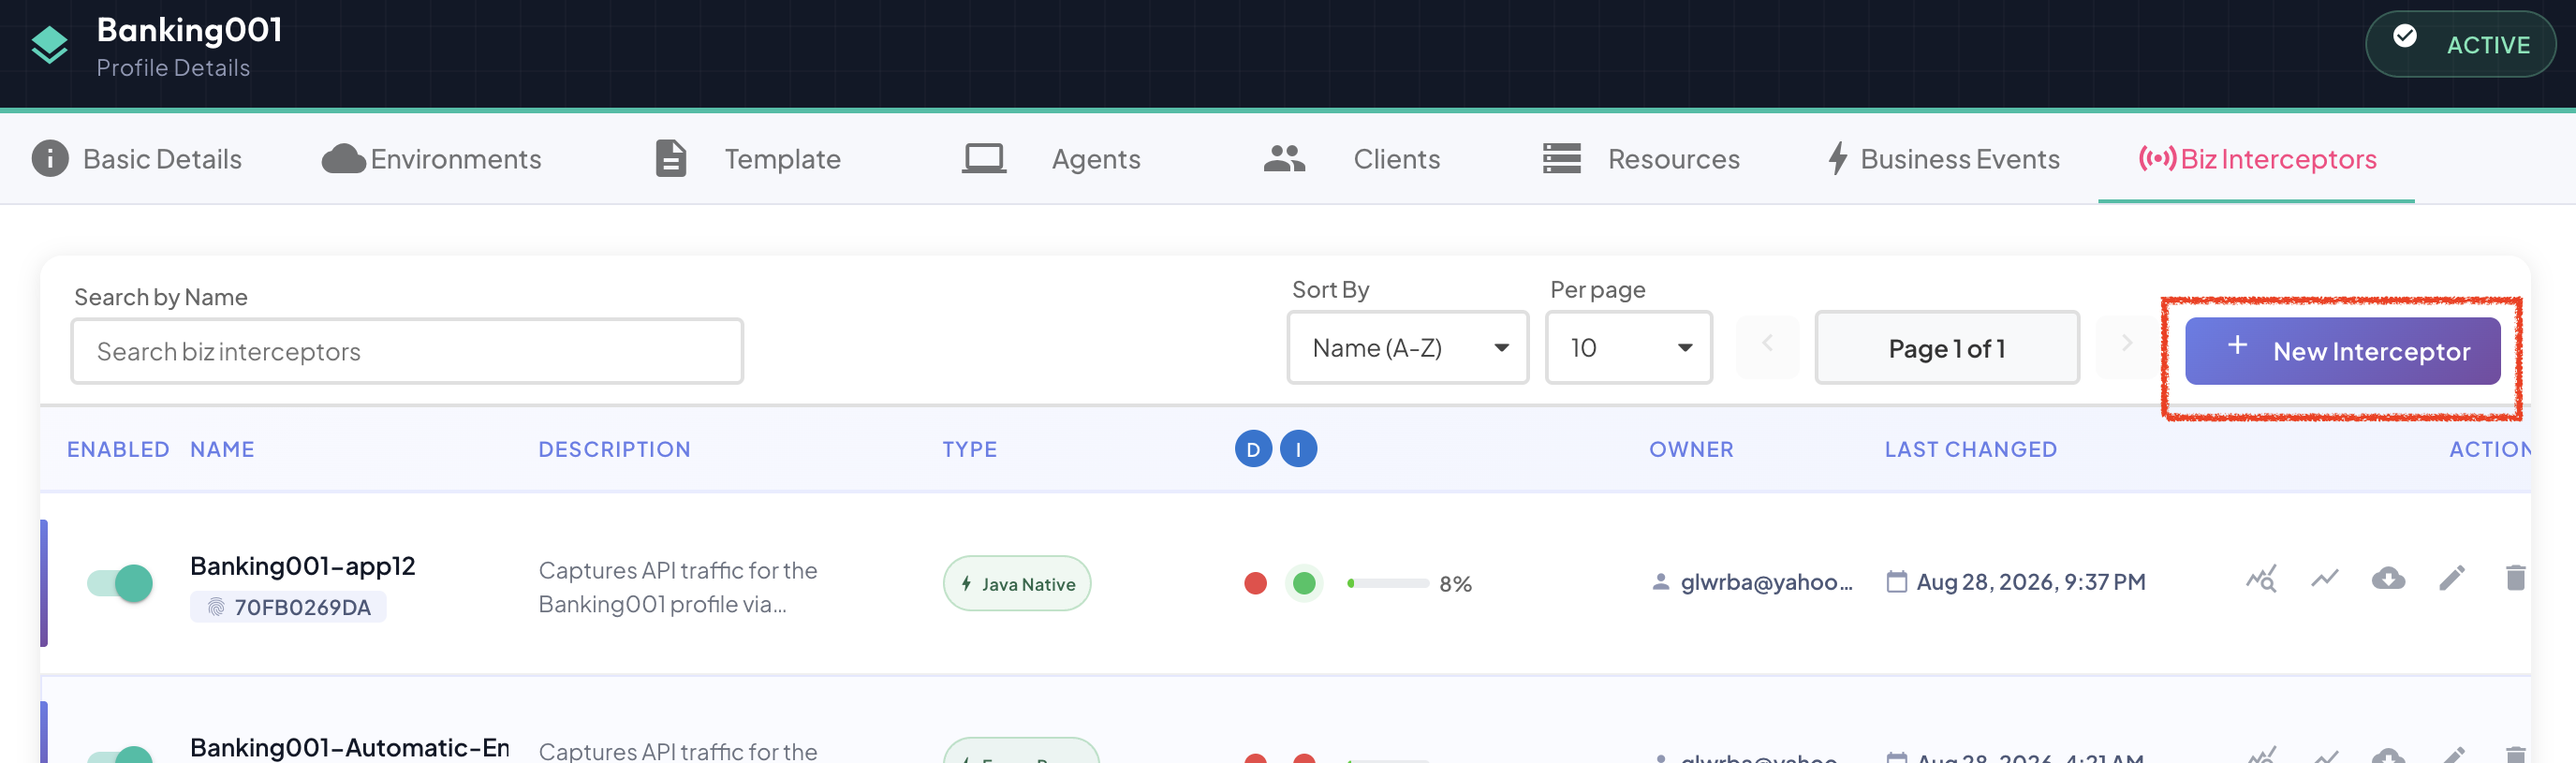
From the Profile's Biz Interceptors tab, click + New Interceptor to launch the wizard.
Wizard steps
The wizard has 4 steps. Each one is documented in its own page:
| Step | Name | What you configure |
|---|---|---|
| 1 | Transport Type | How this interceptor captures traffic — currently REST API only, with MQTT, Kafka, and Webhook on the roadmap |
| 2 | General | Name, description, and Business Instrumentation Type (Automatic vs. Manual) with its corresponding Interceptor Type / SDK Type |
| 3 | Tuning | Per-environment enablement plus buffering, batching, sync, and network fine-tuning |
| 4 | Biz Instrumentation | Which of the Profile's Business Events this interceptor should actually capture traffic for — defaults to all of them |
%%{init: {"themeVariables": {"fontSize": "18px"}}}%%
flowchart TB
    A["1 · Transport Type"] --> B["2 · General"]
    B --> C["3 · Tuning"]
    C --> D2["4 · Biz Instrumentation"]
    D2 --> D["Create Interceptor"]
Result
Once you click Create Interceptor on the last step, the wizard closes and the new interceptor appears in the Biz Interceptors list — enabled for whichever environments you turned on in Step 3, and beginning to heartbeat as soon as it's actually deployed. See Downloading a Biz Interceptor for how to get it running.