Creating a Business Event — End-to-End Walkthrough
This section walks through the full Create Business Event wizard, from opening it on the Business Events tab to landing on the summary view of your newly created (DRAFT) event version.
Use this page as the entry point, then follow the step-by-step child pages for the details of each wizard screen.
Before you start
- The Profile must have a Template with at least one Frame Type you want to populate.
- The API Collection (or Kafka topic / MQTT queue / Webhook) exposing the operations you want to intercept must already be configured on the Profile.
Entry point — Business Events tab
From the Profile's Business Events tab, click Create Business Event to launch the wizard.
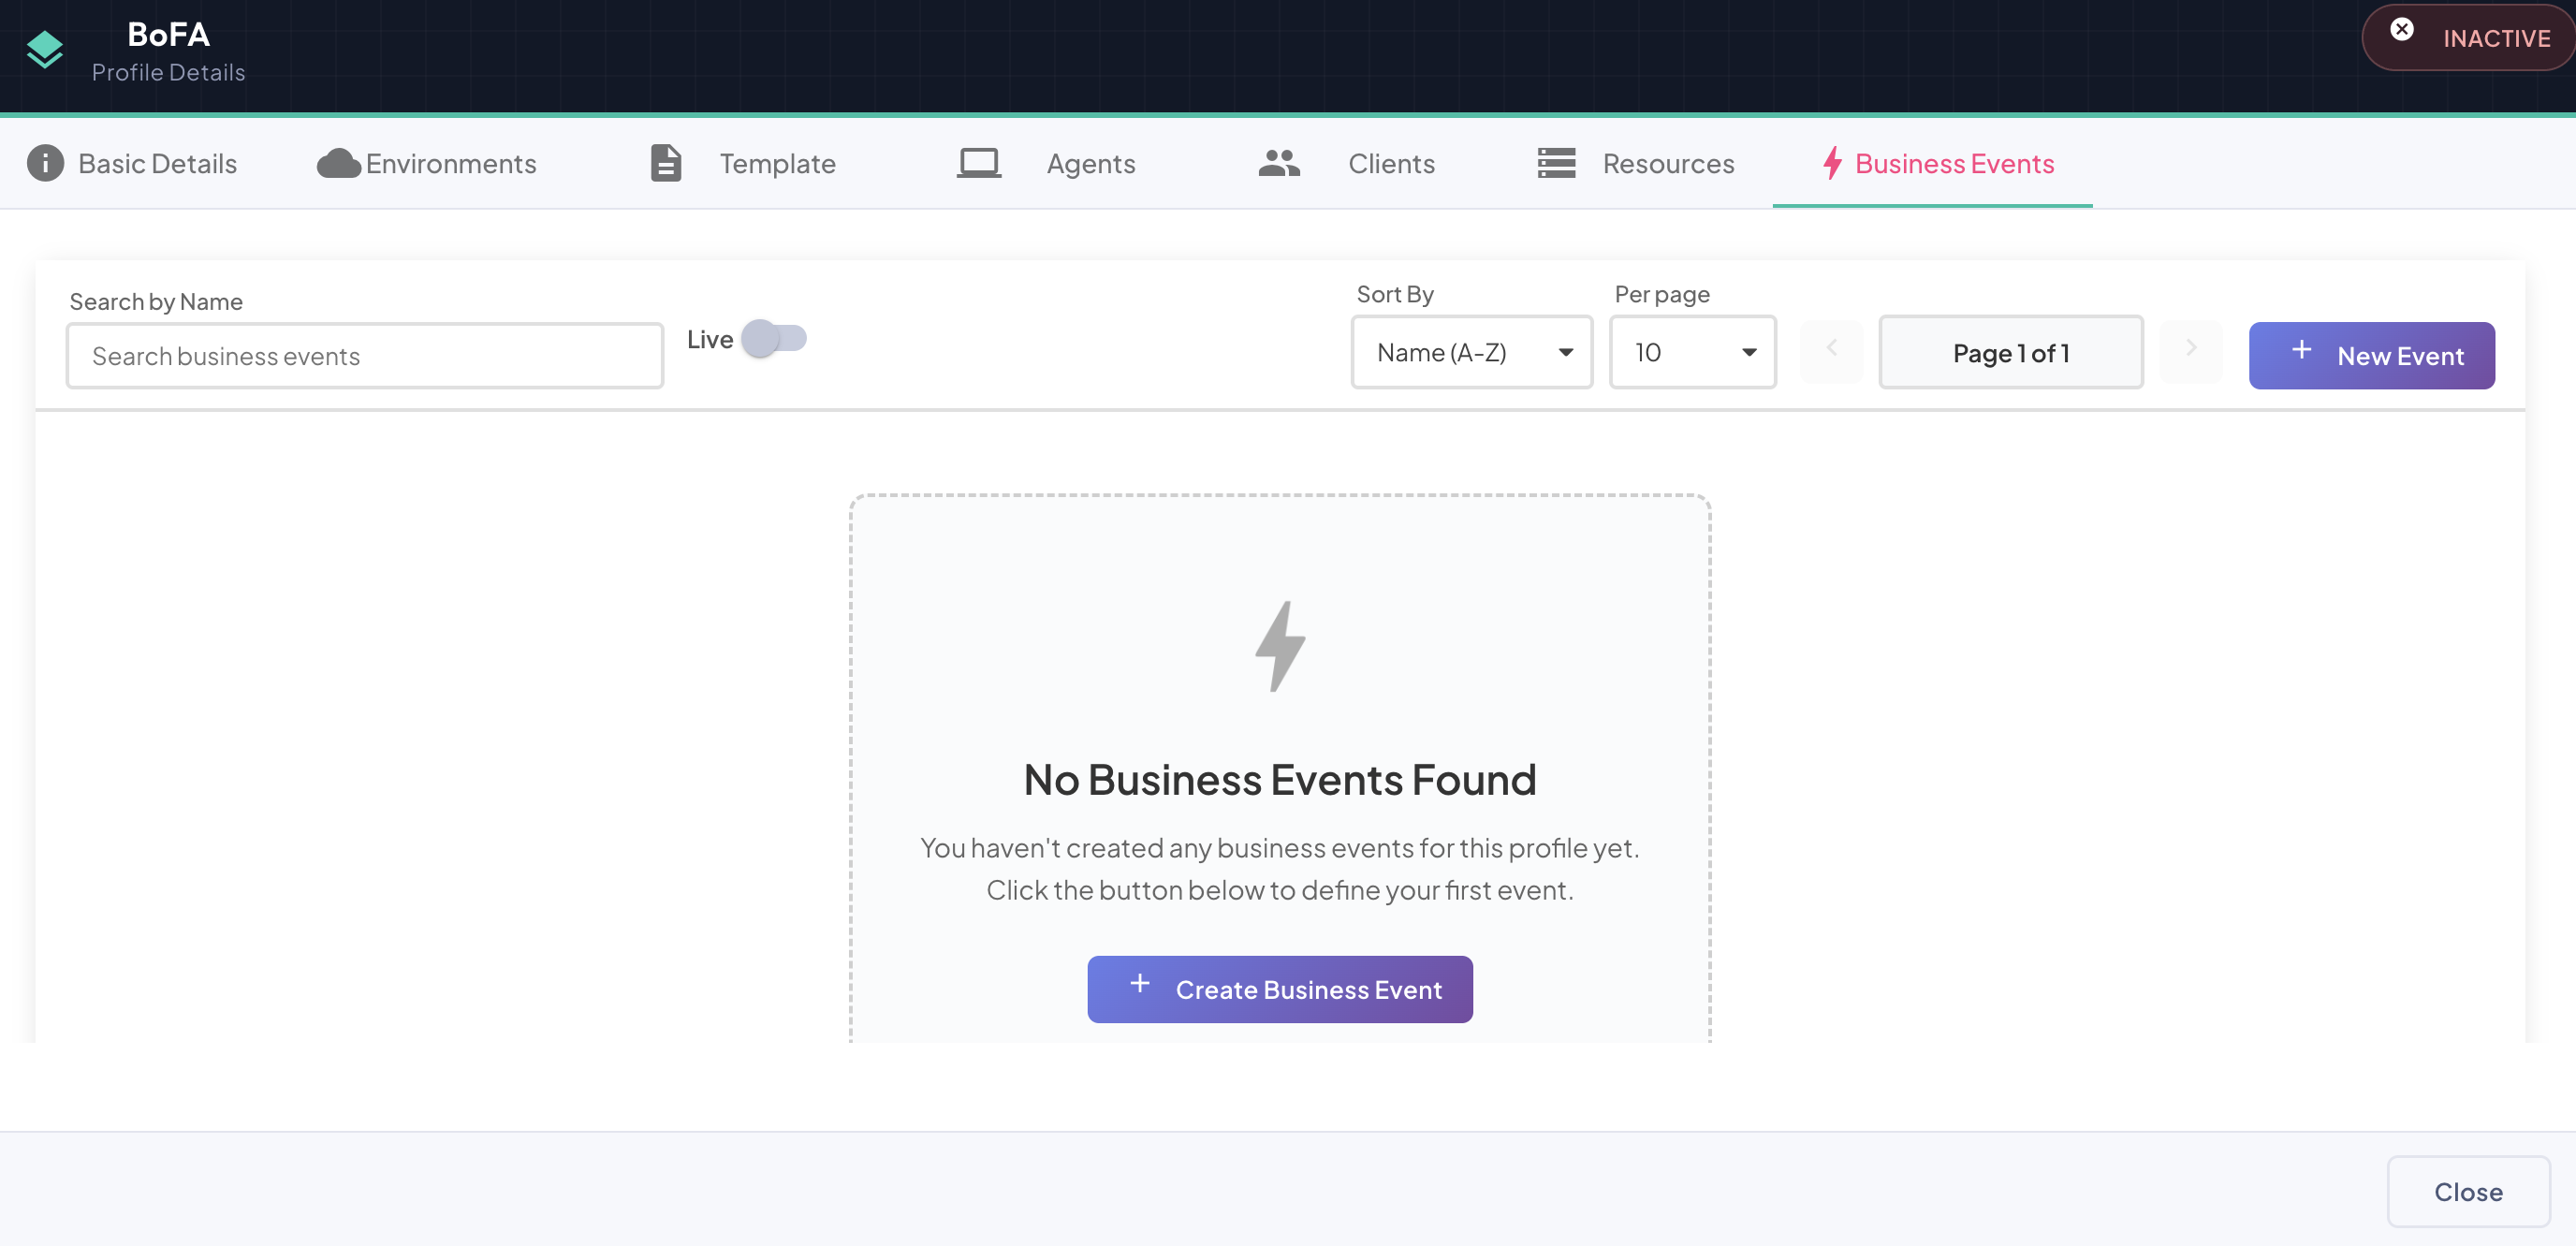
Wizard steps
The wizard has 6 steps. Each one is documented in its own page:
| Step | Name | What you configure |
|---|---|---|
| 1 | Source Type | The transport mechanism — REST API, Kafka Topic, MQTT Queue, or Webhook |
| 2 | Select Target Frame | The Frame Type from the Template that this event will populate |
| 3 | Select Operations | The specific API operations to intercept (browse, search, IntelliSense-assisted selection) |
| 4 | Configure Operations | Interception mode (INBOUND, OUTBOUND, INBOUND_OUTBOUND), filters, and correlation source per selected operation |
| 5 | Event Identity | Name and description — auto-generated by BizMetry from the Profile, target Frame and selected operations; still editable |
| 6 | Configure Mapping | Field mappings, BMEL expressions, and final creation |
Why identity comes after operations, not before
The event's name is derived from the Profile, the target Frame Type/version, and the selected operations — so BizMetry can only generate it once those are known. That's why Event Identity now sits right before the final Mapping step instead of being the very first thing you fill in.
%%{init: {"themeVariables": {"fontSize": "18px"}}}%%
flowchart TB
    A["1 · Source Type"] --> B["2 · Select Target Frame"]
    B --> C["3 · Select Operations"]
    C --> D["4 · Configure Operations"]
    D --> E["5 · Event Identity\n(auto-generated)"]
    E --> F["6 · Configure Mapping"]
    F --> G["Create → Business Event\nversion in DRAFT"]
Result
Once you click Create on the last step, the wizard closes and you land on the summary view of the new Business Event version — created in DRAFT status.
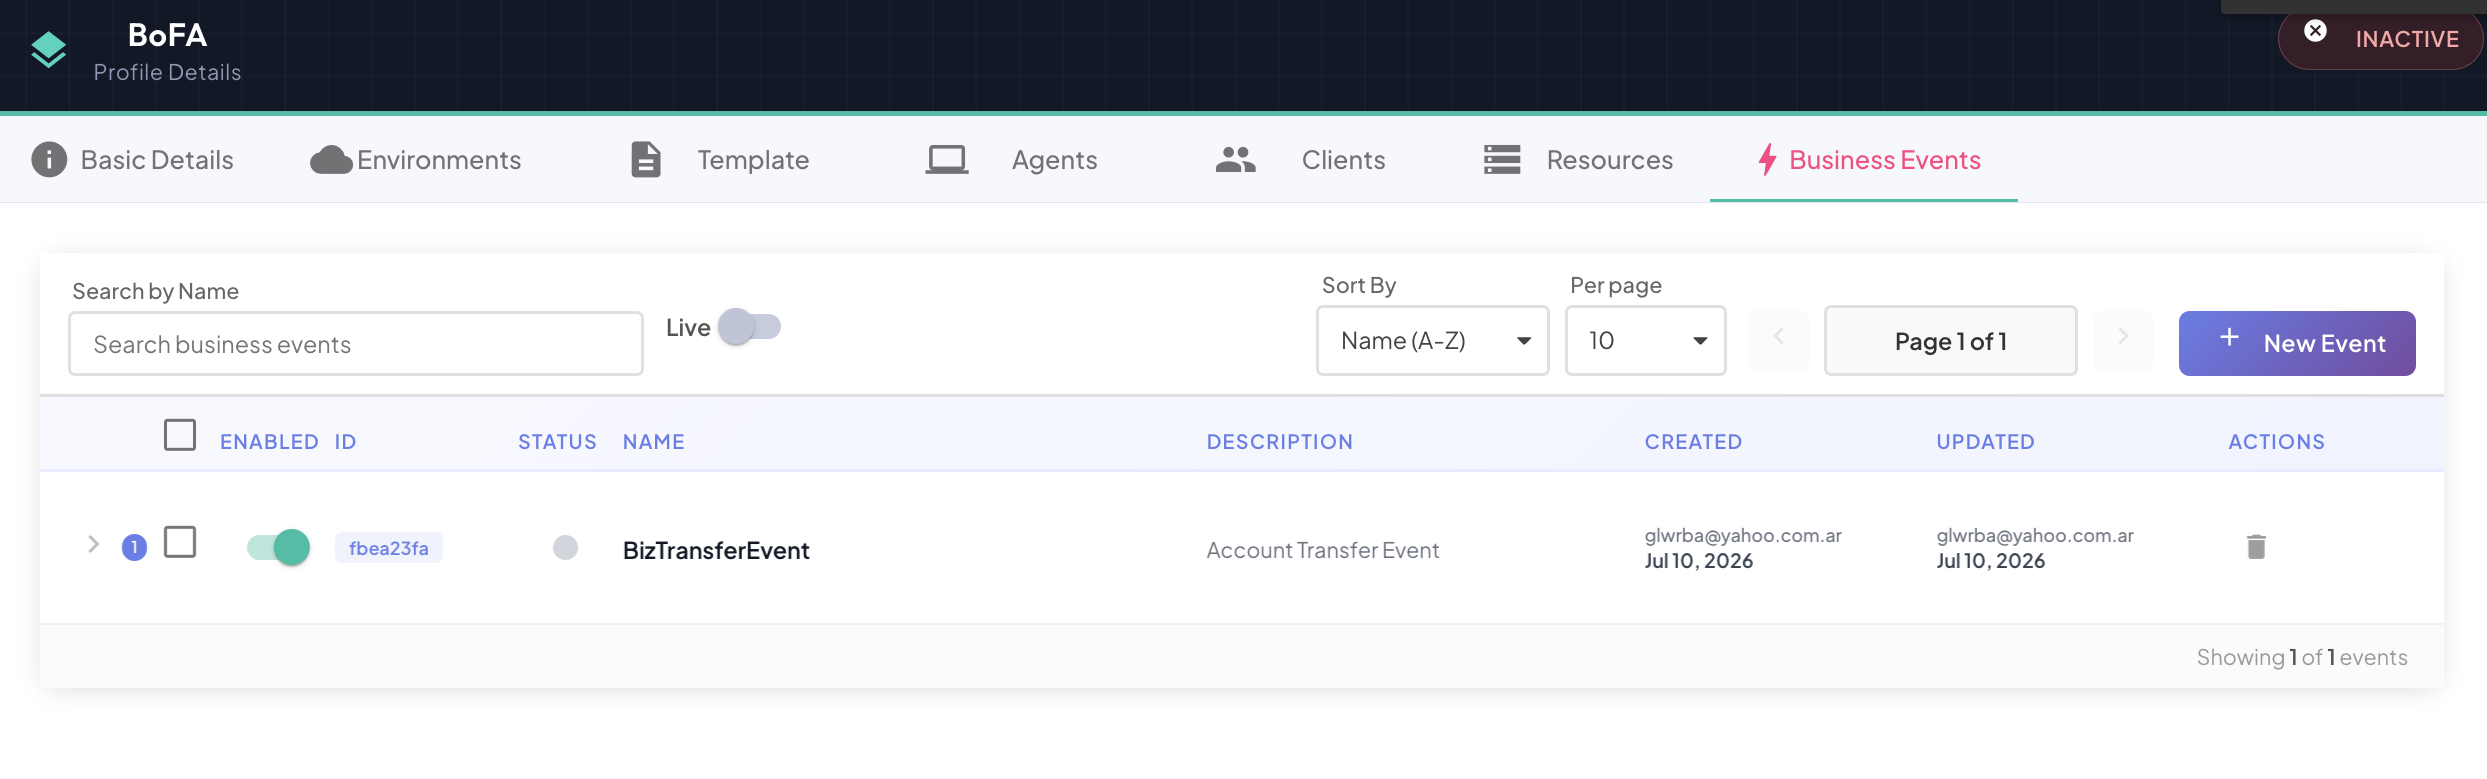
From here, the version follows the normal lifecycle: Submit for review, Approve/Reject, and eventually Publish.