Editing a User
To edit an existing user, click the Edit icon (✏️) on the user's row in the Users tab. The Edit User dialog opens, showing the user's display name and email in the header.
The dialog is organized into four tabs. Changes across all tabs are applied together when clicking Save Changes.
Tab 1 — General
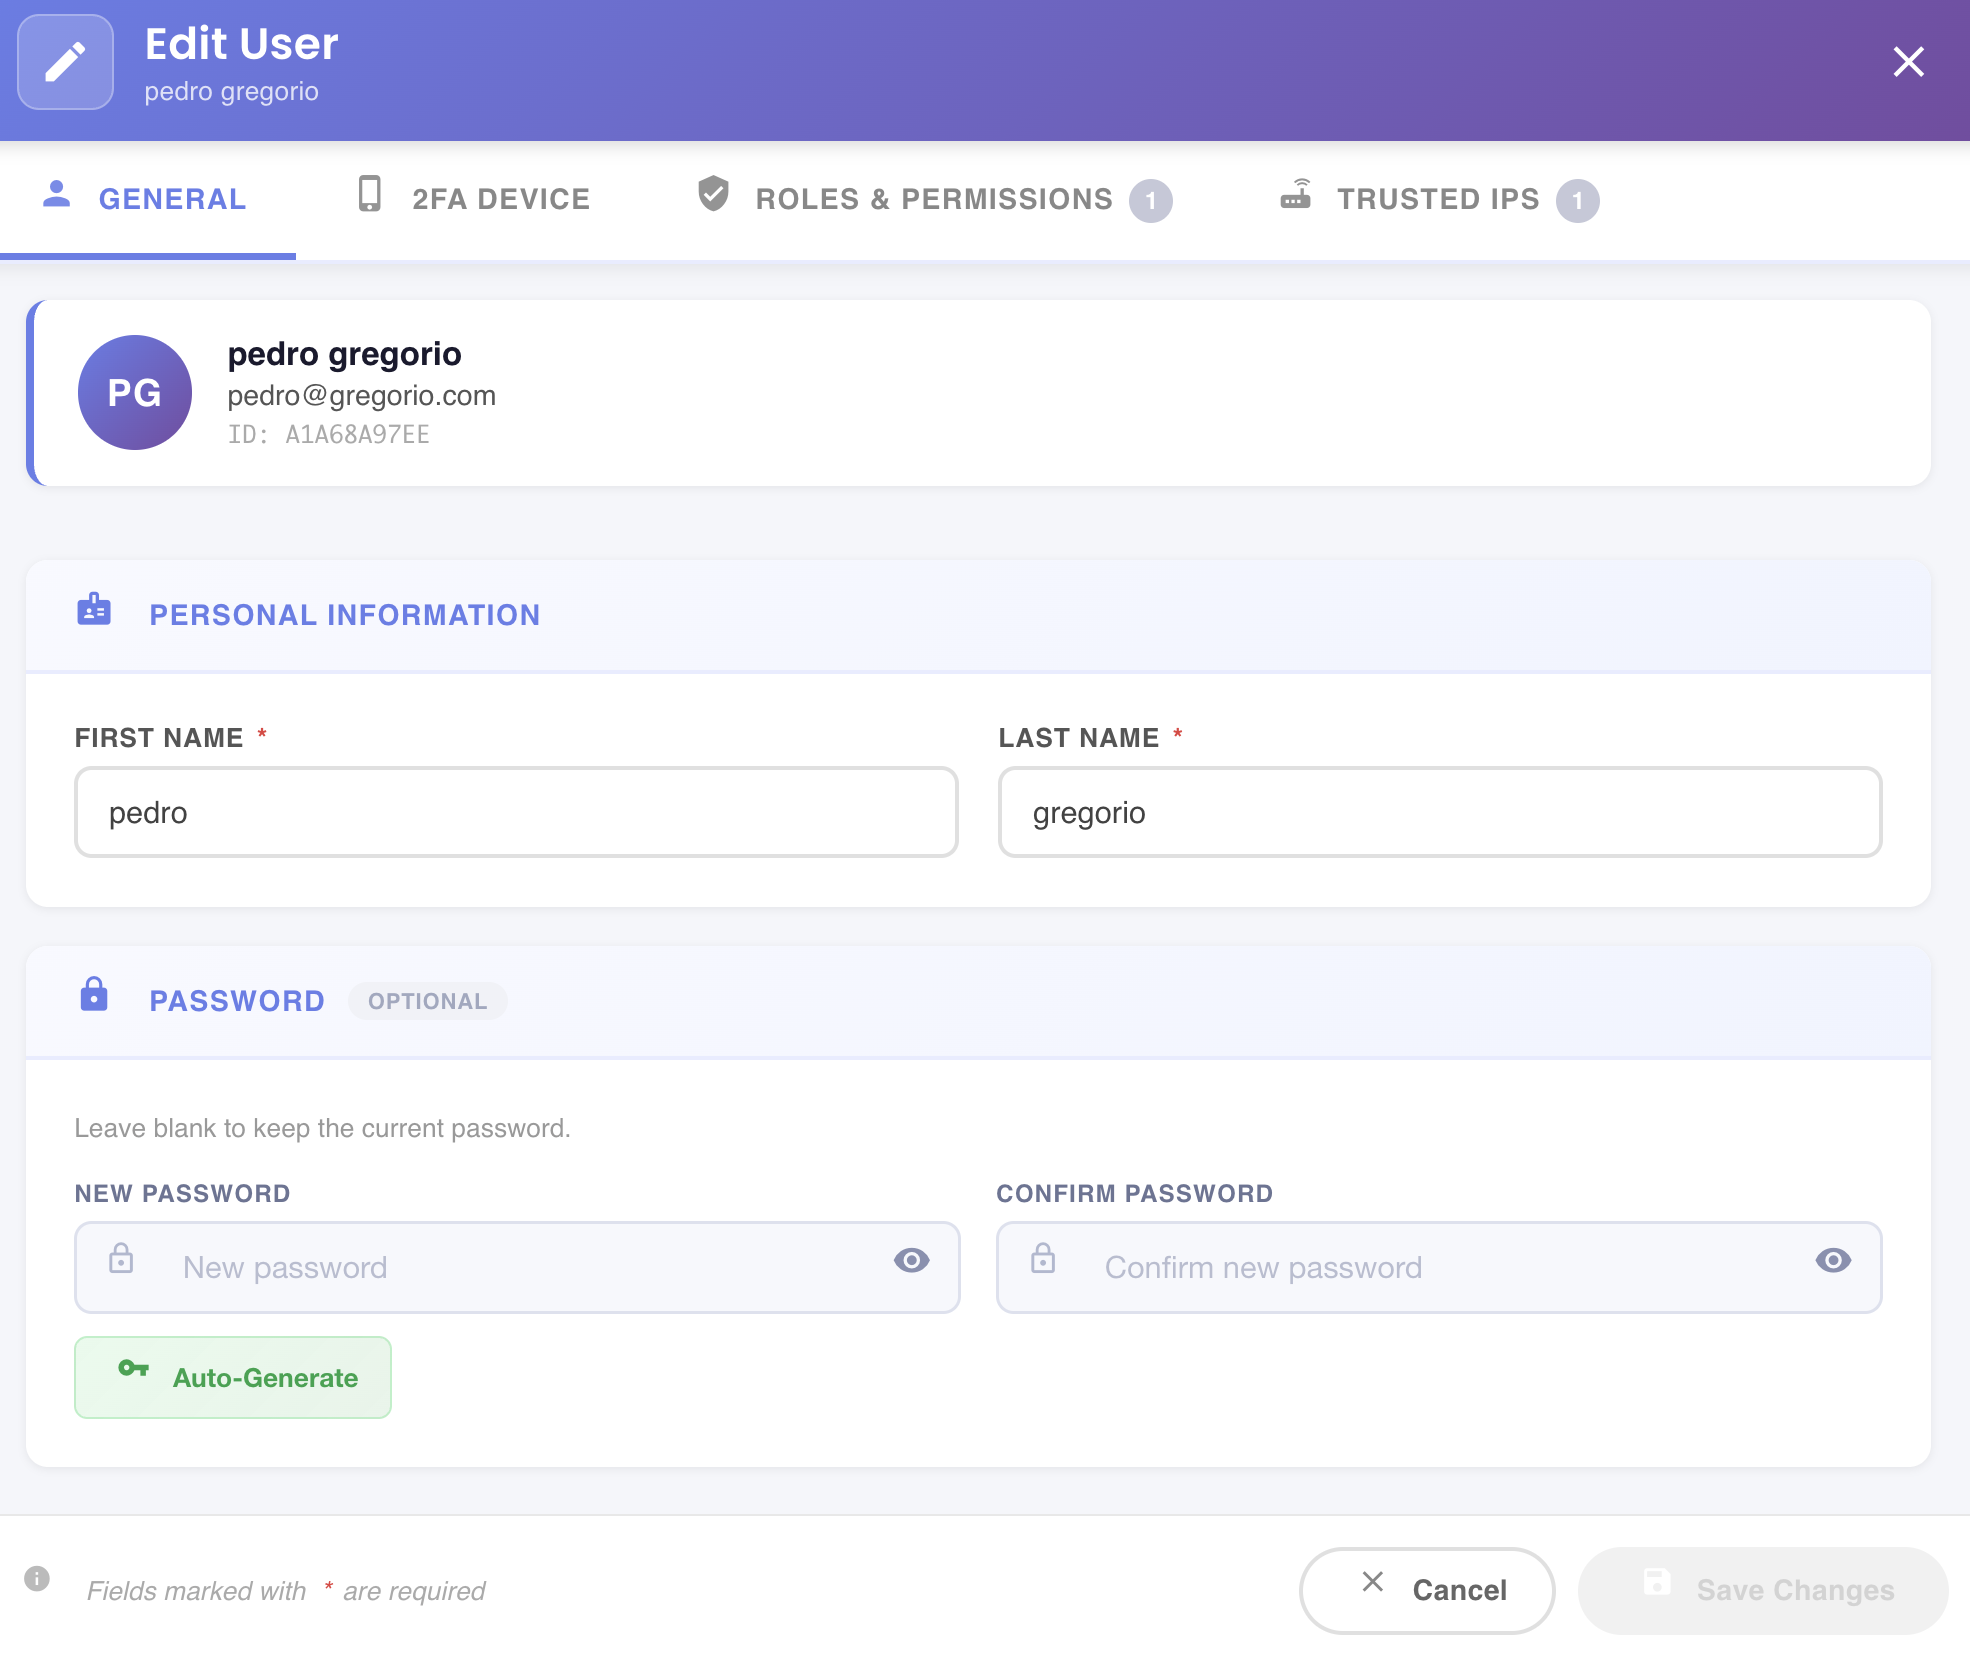
The General tab shows the user's identity card at the top — avatar initials, full name, email, and internal User ID — followed by the editable fields.
Personal Information
| Field | Required | Description |
|---|---|---|
| First Name | ✅ Yes | User's first name |
| Last Name | ✅ Yes | User's last name |
Password
Password change is optional. Leave both fields blank to keep the current password.
| Field | Description |
|---|---|
| New Password | Enter a new password for the account |
| Confirm Password | Must match New Password exactly |
Click Auto-Generate to have BizMetry generate a secure random password automatically, pre-filling both fields. Password requirements: minimum 8 characters · at least 1 uppercase · at least 1 number · at least 1 special character (#, @, _, !, $).
Tab 2 — 2FA Device
The 2FA Device tab allows updating the trusted mobile number used for Two-Factor Authentication.
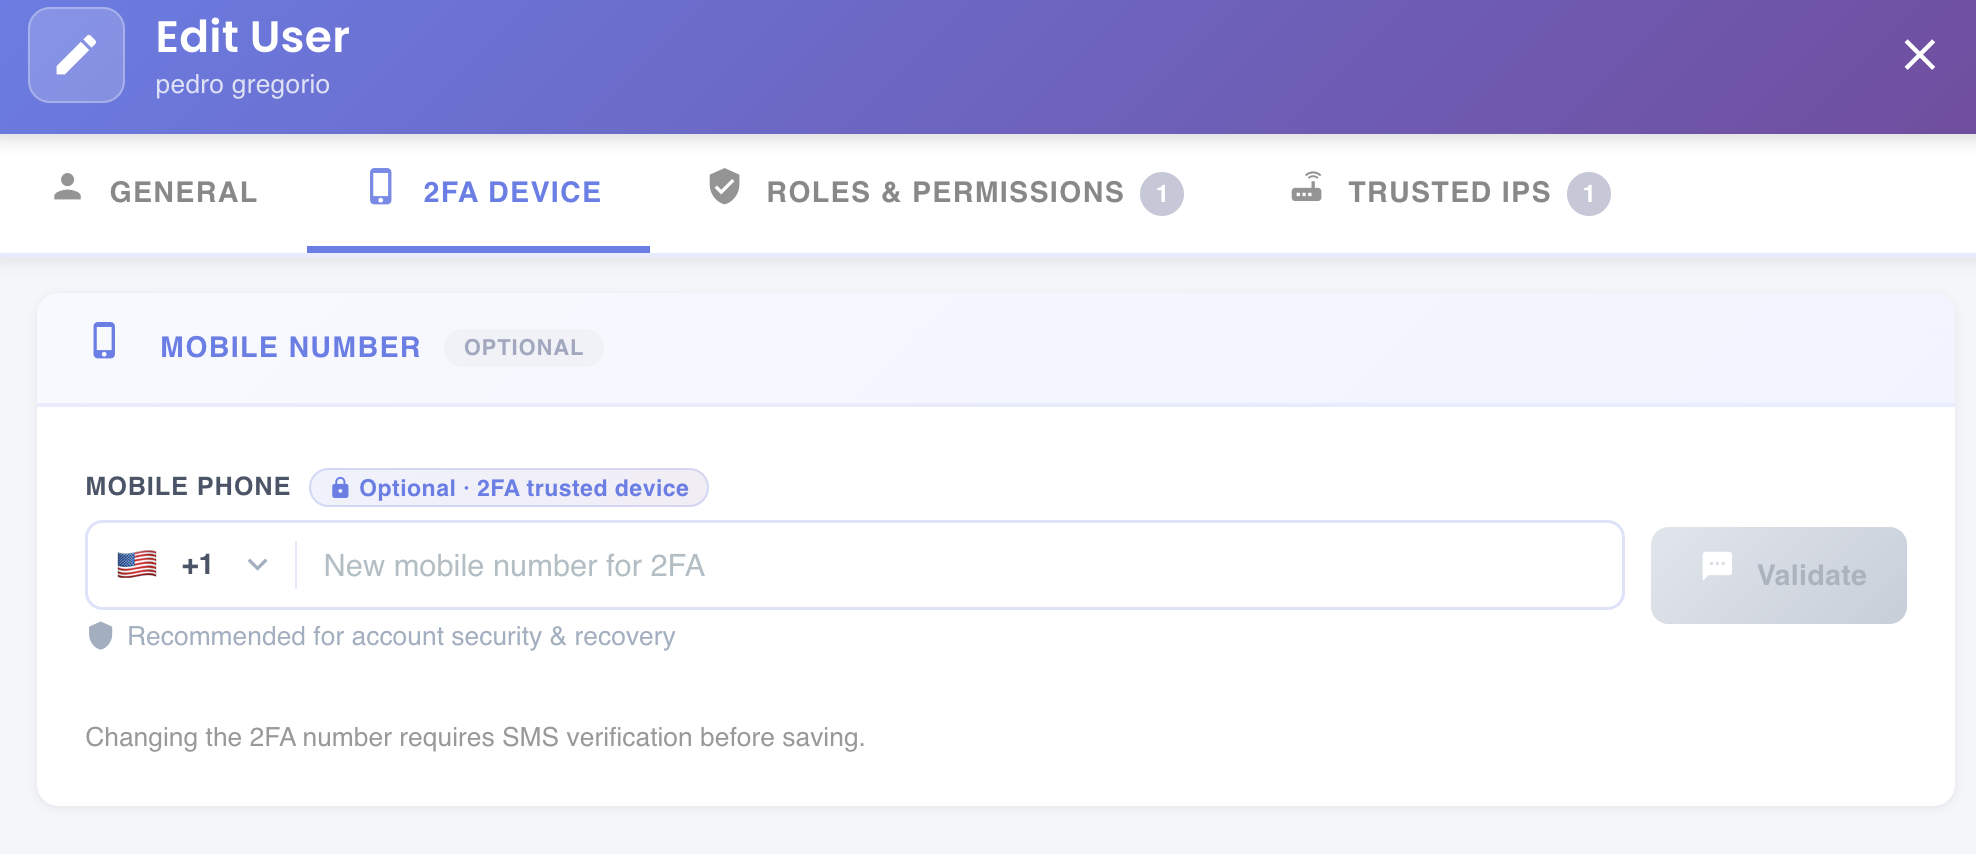
This tab is optional. Enter a new mobile number and click Validate to trigger an SMS verification code. The number change only takes effect after the code is confirmed.
Verification required
Changing the 2FA number requires SMS verification before saving. The Save Changes button will not be active until the new number is validated.
Tab 3 — Roles & Permissions
The Roles & Permissions tab manages the roles assigned to the user. The tab badge shows the current number of assigned roles.
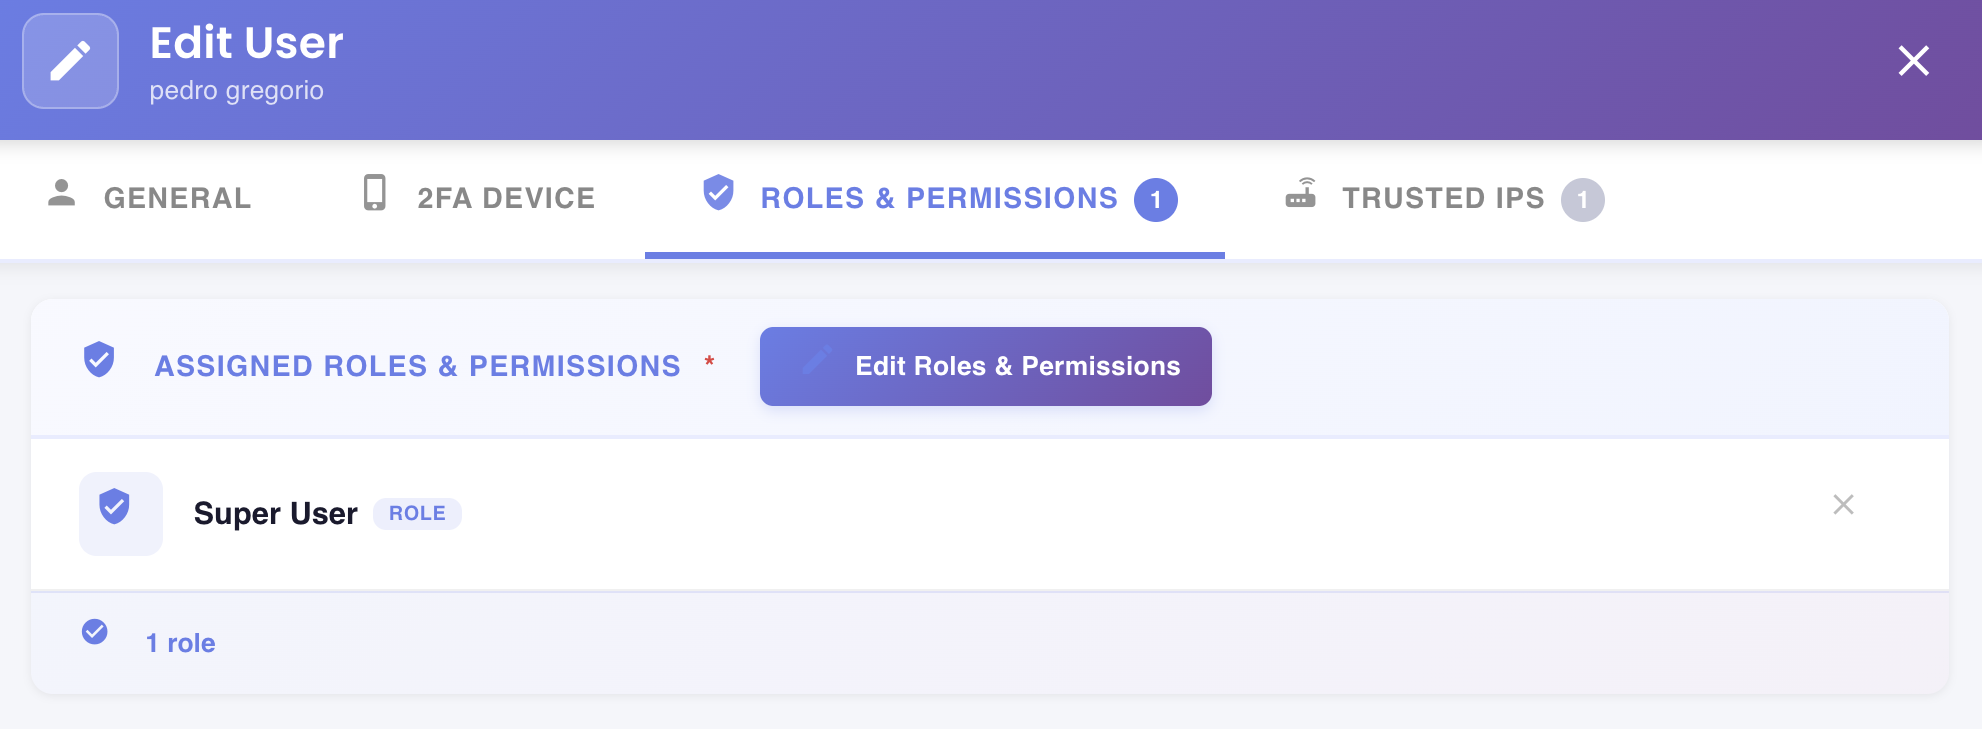
The Assigned Roles & Permissions section lists all currently assigned roles, each showing its name and ROLE badge. Click ✕ next to any role to remove it.
Click Edit Roles & Permissions to open the Select Roles & Permissions picker and modify the full role and permission assignment.
At least one role required
A user must have at least one role assigned. Removing all roles will prevent saving.
Tab 4 — Trusted IPs
The Trusted IPs tab restricts the user's access to a specific set of IP addresses or domain names. This tab is optional and is only available when editing an existing user (not during creation).
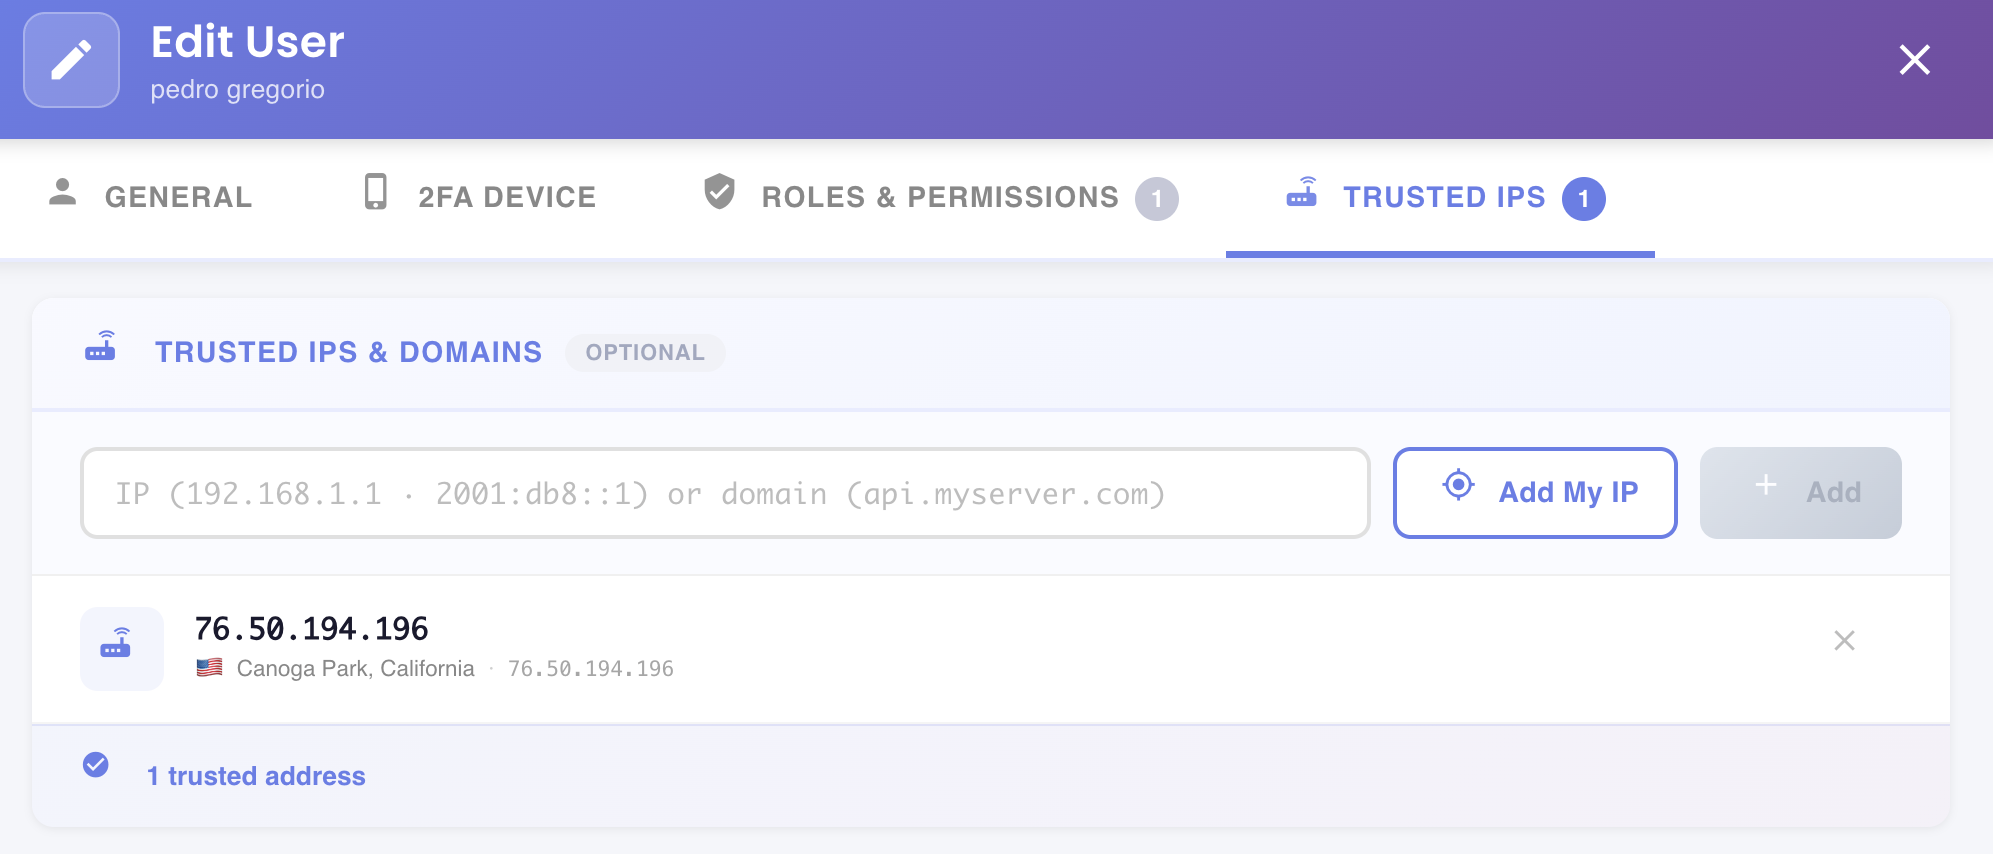
Adding a Trusted Address
Enter an IPv4 address (e.g. 192.168.1.1), IPv6 address (e.g. 2001:db8::1), or a domain name (e.g. api.myserver.com) in the input field, then click + Add.
Click Add My IP to automatically detect and add your current public IP address.
Trusted Address List
Each entry in the list shows the IP address, its resolved geographic location and country flag, and an ✕ button to remove it. The footer badge shows the total count of configured trusted addresses (e.g. 1 trusted address).
Access restriction
When one or more trusted addresses are configured, the user will only be able to log in from those addresses. Leave this section empty to allow access from any IP.
Saving Changes
Click Save Changes to apply all modifications across all tabs. Click Cancel to discard any changes and close the dialog.