Clone from an Existing Profile
This flow creates a new profile by copying the full configuration of an existing profile in your account — including its template structure, frame types, classification, ASBO mappings, and resource type definitions. It is the fastest path when you need a new profile that closely mirrors one you have already configured and validated.
Cloning copies the template structure and configuration. Agents, active datasource connections, and live environment data are not transferred — those must be set up independently in the new profile.
Step 1 — Profile Source
Select Clone from an existing profile and click Continue.
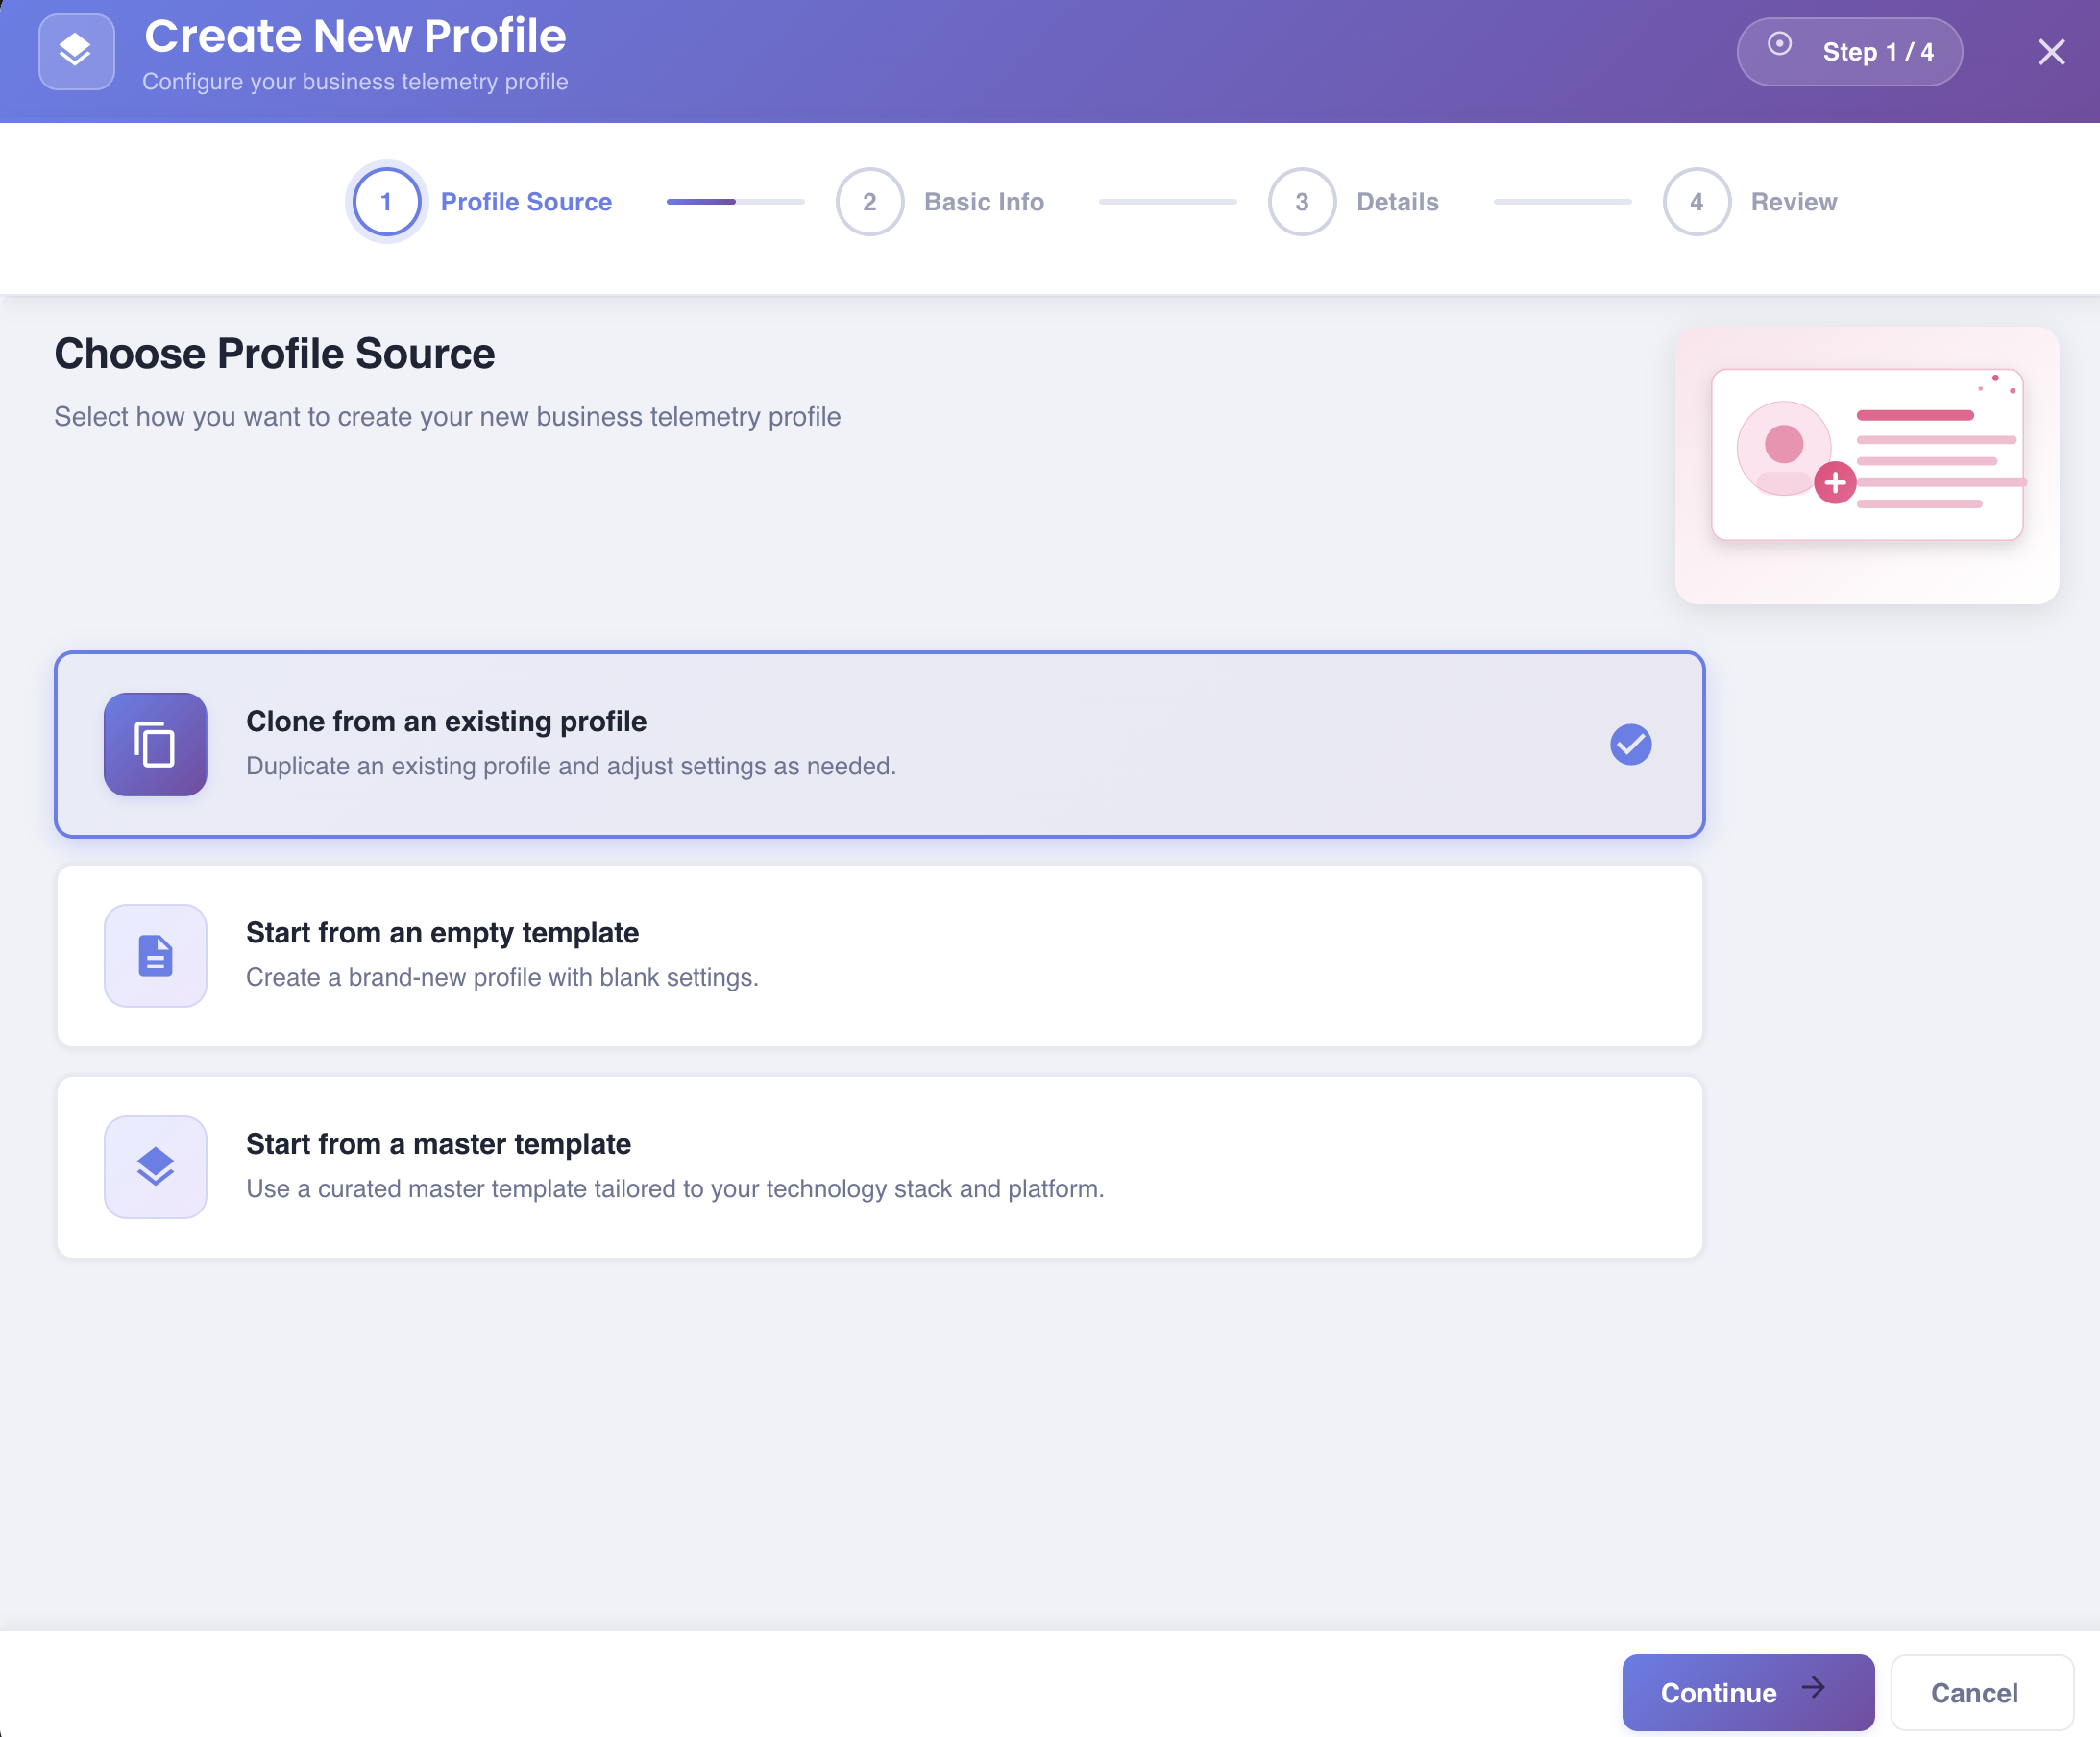
Duplicate an existing profile and adjust settings as needed.
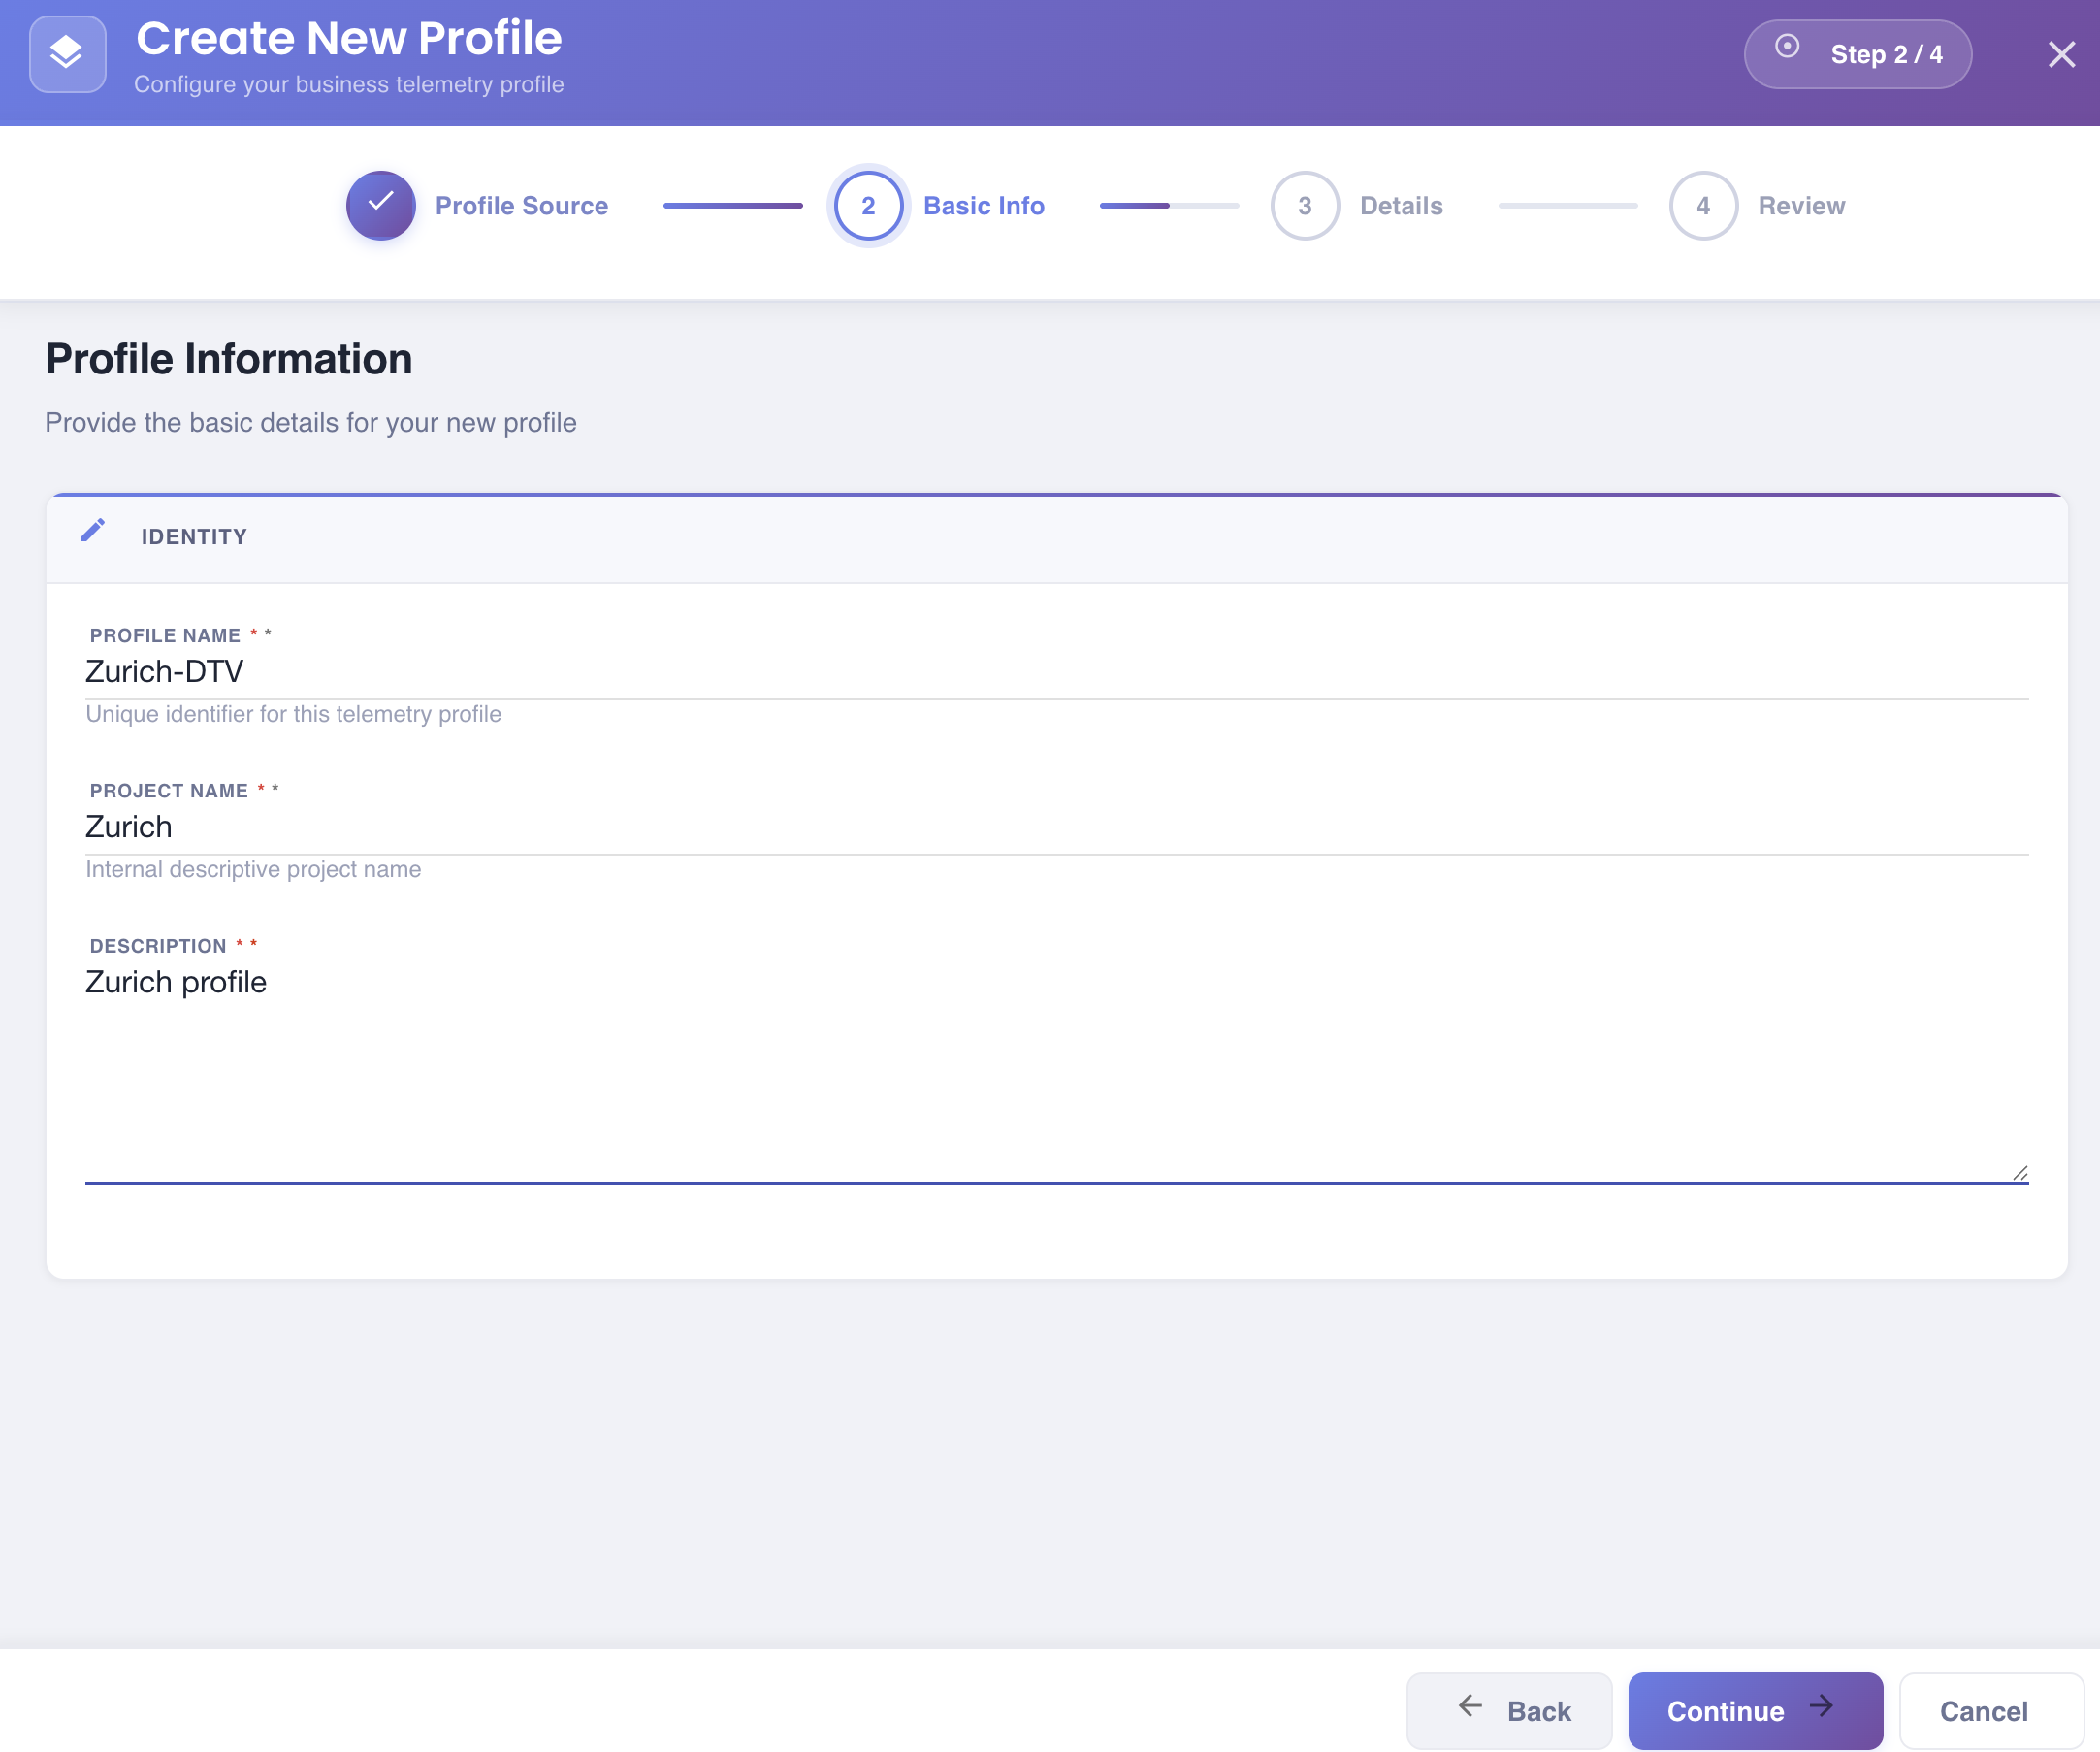
Step 2 — Basic Info
Provide the identity details for the new profile. These will be the name and description of the clone, not the original.
| Field | Required | Description |
|---|---|---|
| Profile Name | ✅ | Unique name for the new (cloned) profile. Must be different from the source profile's name. |
| Project Name | ✅ | Internal project grouping name for the clone. |
| Description | ✅ | Free-text description of the new profile's purpose. |
Click Continue to proceed.
Step 3 — Details: Select Profile to Clone
Choose the existing profile to use as the source for the clone.
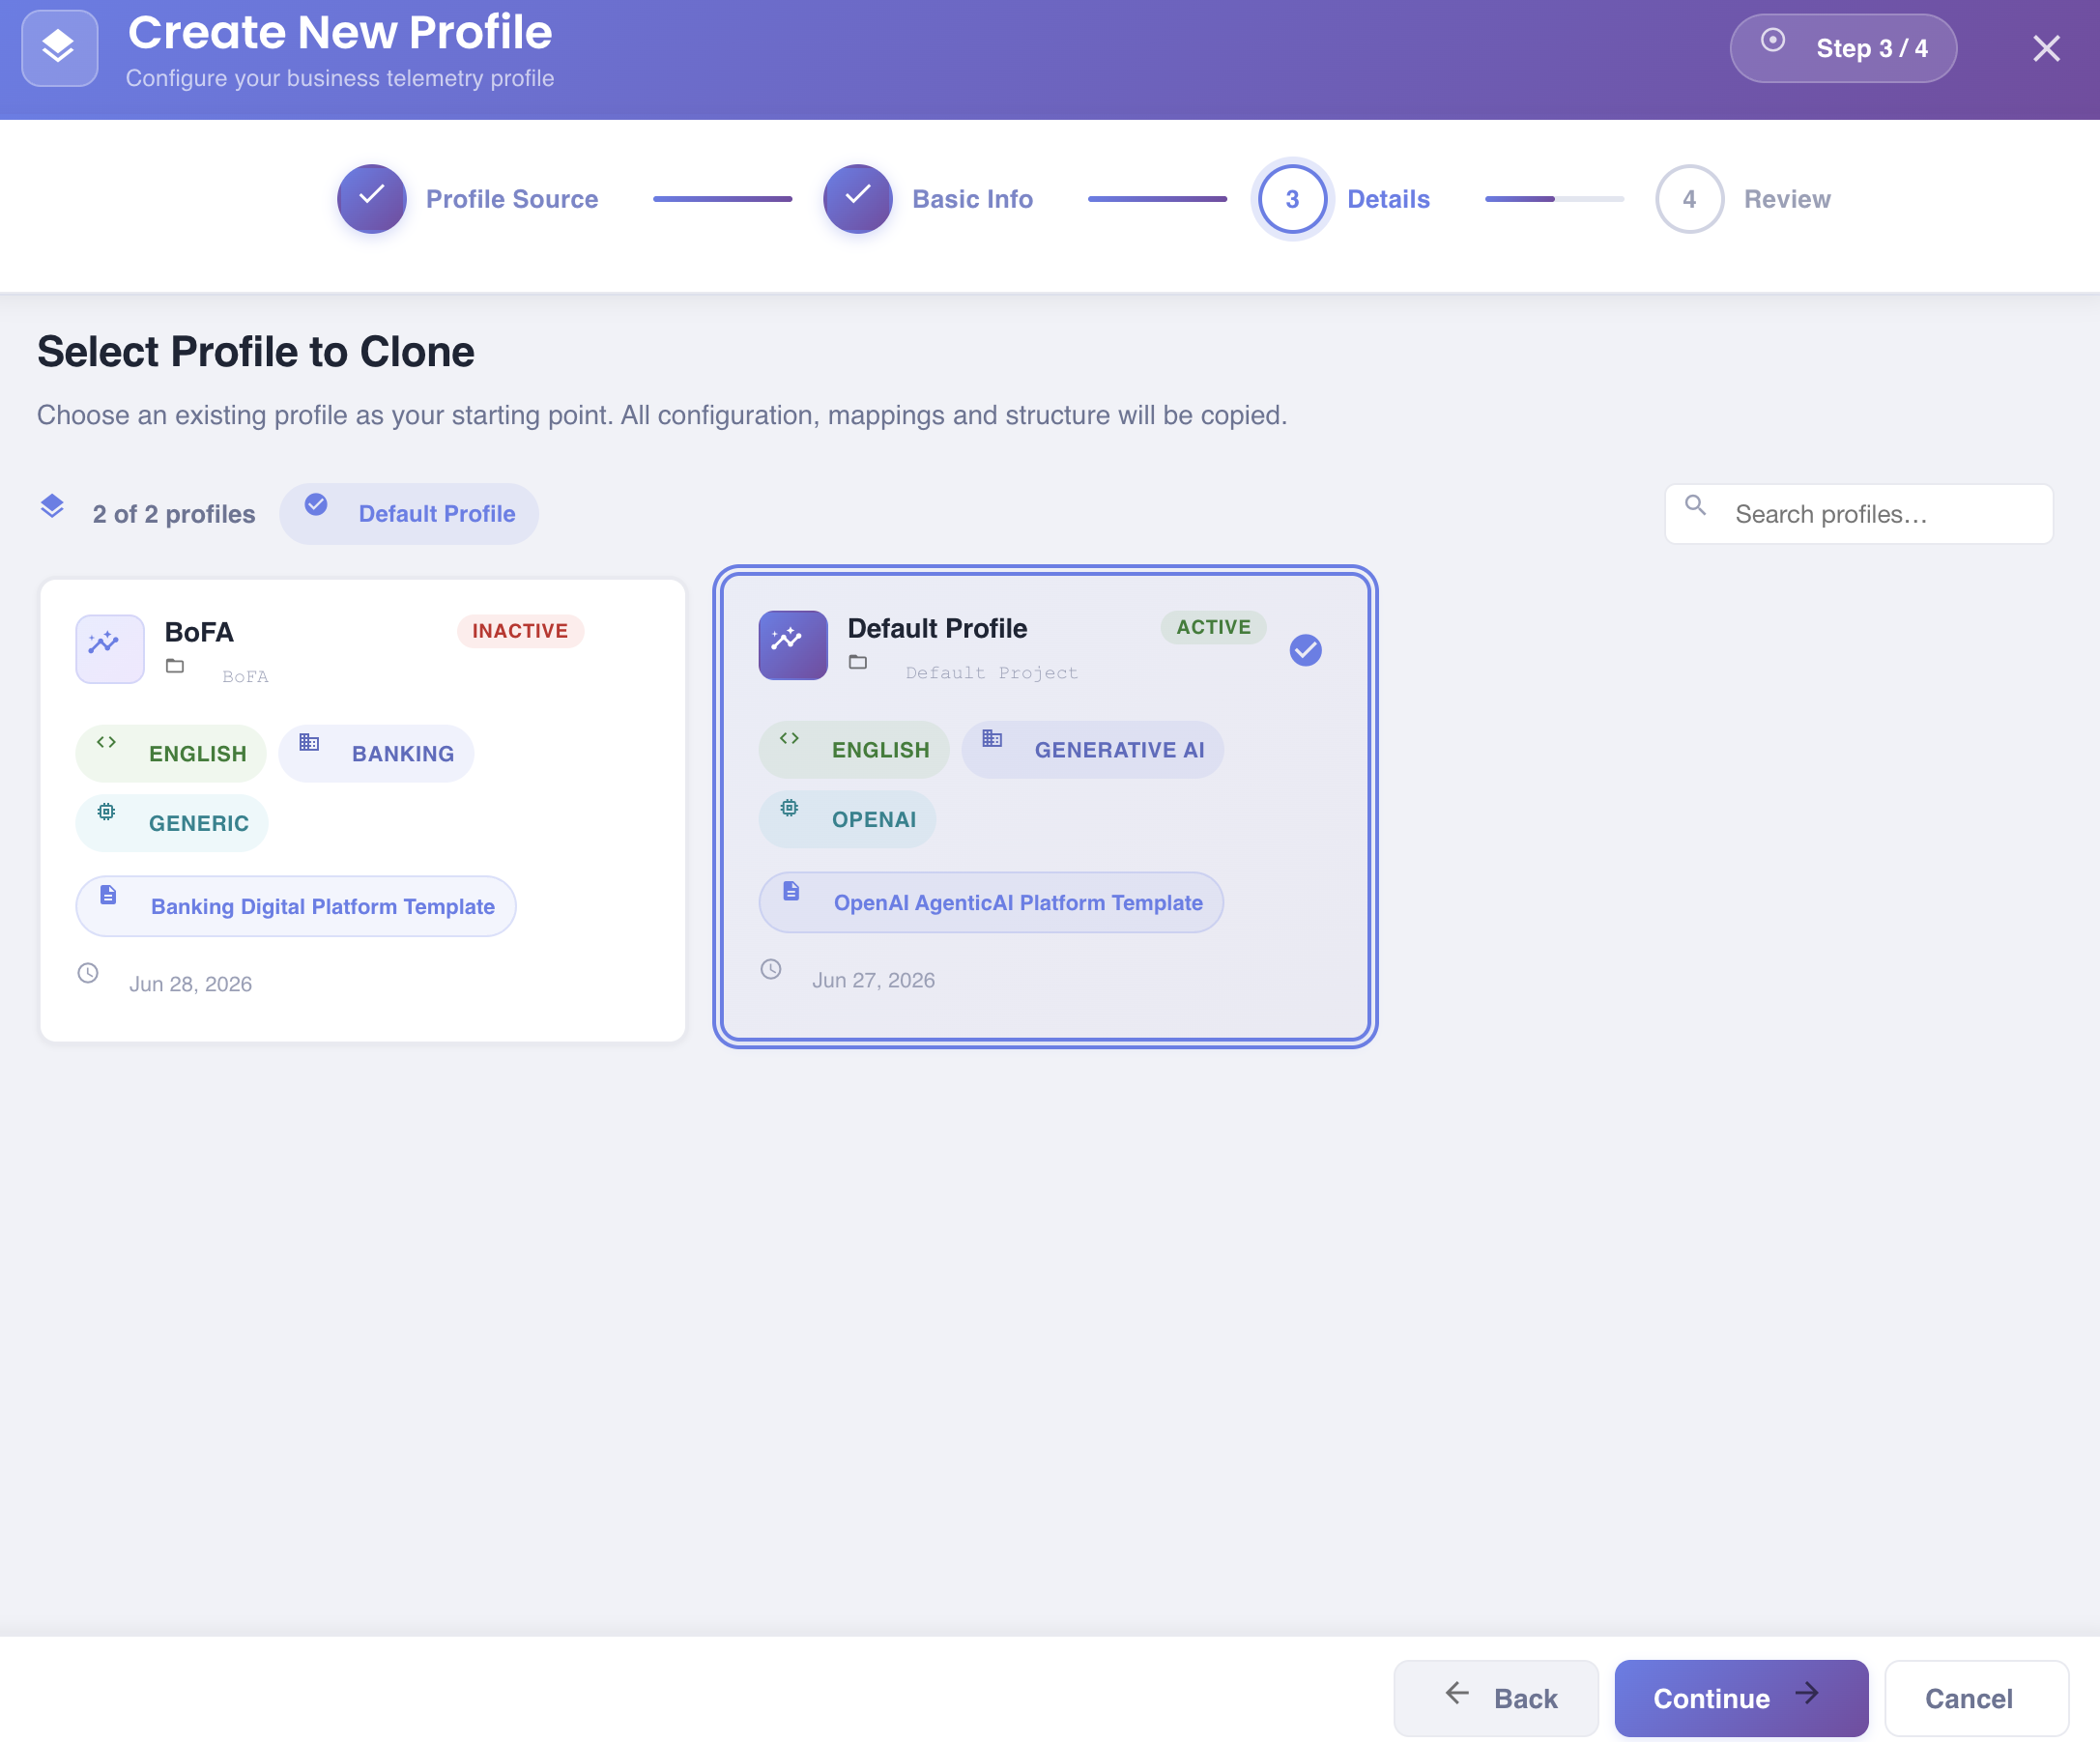
The screen displays a count of available profiles (e.g. 2 of 2 profiles) and a currently selected badge. A Search profiles… field on the right allows filtering by name when there are many profiles.
Each profile card shows:
- Profile name and project name
- Status badge:
ACTIVE(green) orINACTIVE(red) - Language tag (e.g.
ENGLISH) - Business domain tag (e.g.
BANKING,GENERATIVE AI) - Technology stack tag (e.g.
GENERIC,OPENAI) - Master template used as the source (e.g.
Banking Digital Platform Template,OpenAI AgenticAI Platform Template) - Creation date
Click a card to select it — it highlights with a blue border and a ✅ checkmark. A name badge also appears at the top showing the currently selected profile.
Click Continue to proceed.
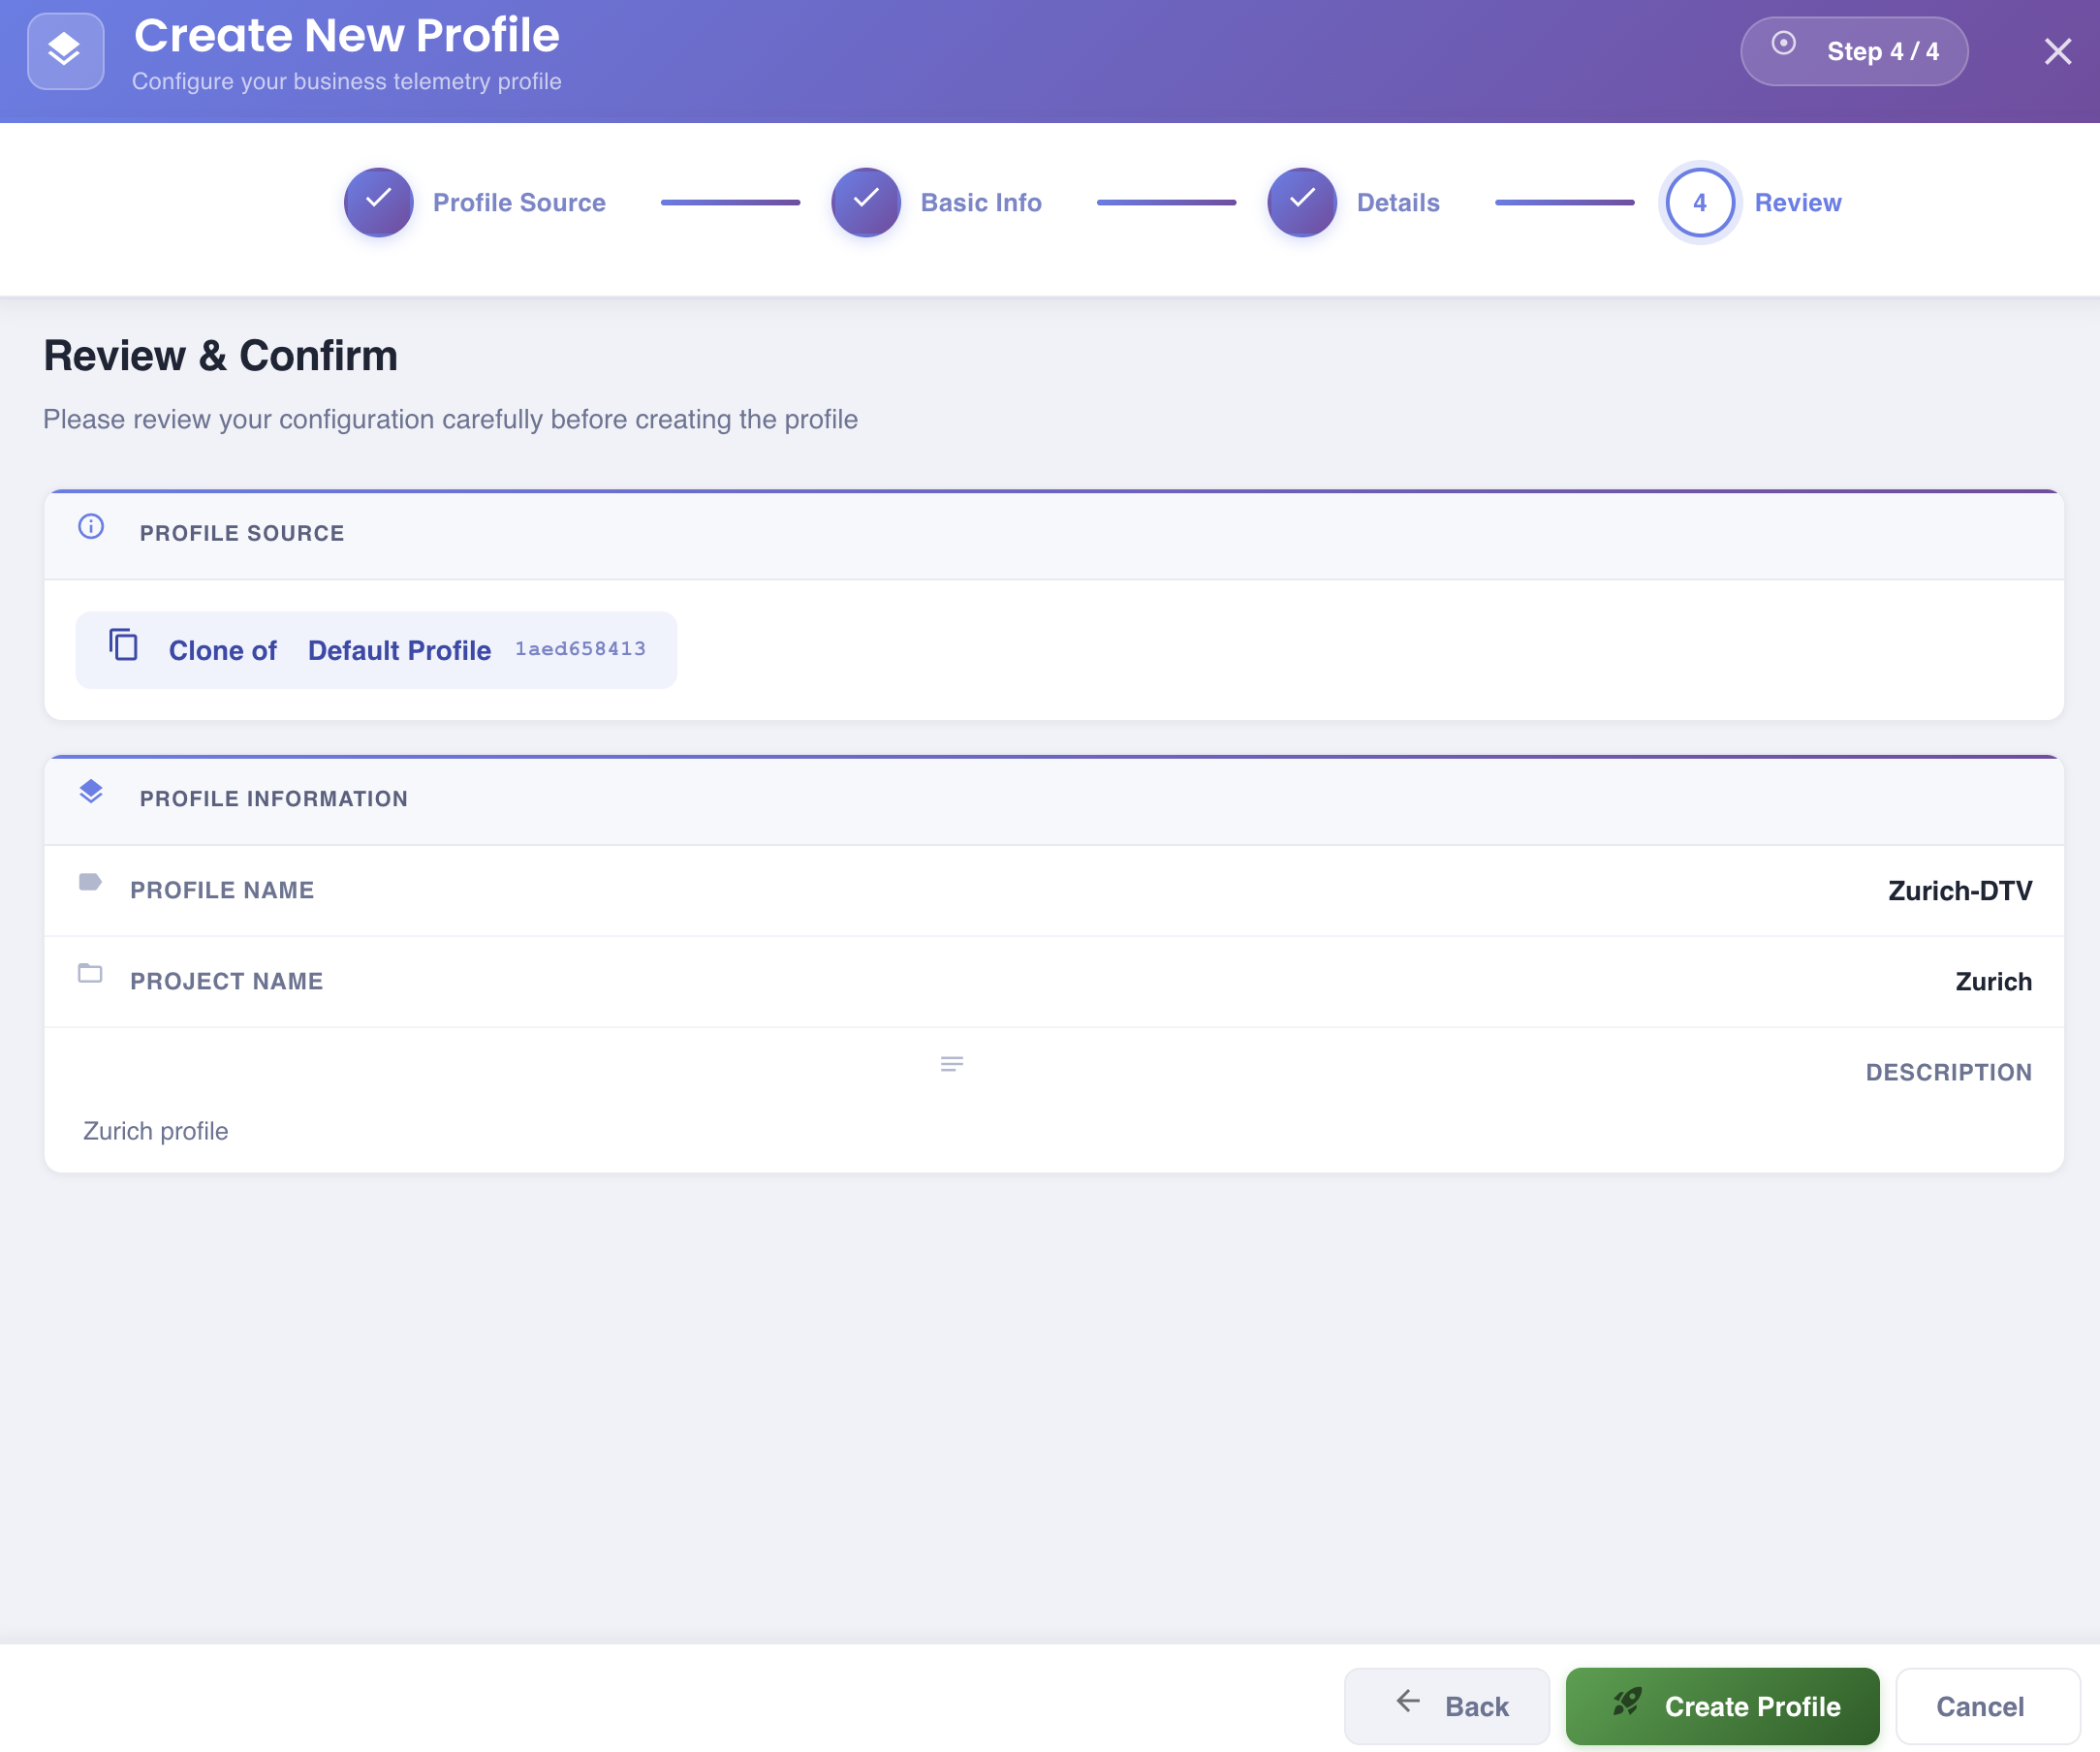
Step 4 — Review & Confirm
A read-only summary of all choices made in the previous steps.
| Section | Fields shown |
|---|---|
| PROFILE SOURCE | Name and ID of the profile being cloned. |
| PROFILE INFORMATION | Profile Name, Project Name, Description of the new clone. |
Review all values carefully. Use Back to return to any step and make corrections.
Click 🚀 Create Profile to complete the setup.
✅ Next Steps
After the clone is created, the new profile is an independent copy. Common post-clone tasks include:
- Reviewing and adjusting Environment names and types to reflect the new context.
- Deploying new Agents for the cloned profile's environments.
- Updating Resource and Client mappings as needed.
- Publishing a new Template version if structural changes are required.