Create from an Empty Template
This flow initializes a new profile with a completely blank telemetry template. You classify the profile by language, business domain, and technology stack — but the template structure itself starts with no pre-defined frames, mappings, or resource types. This is the right choice for teams building a fully custom telemetry model from scratch.
Step 1 — Profile Source
Select Start from an empty template and click Continue.
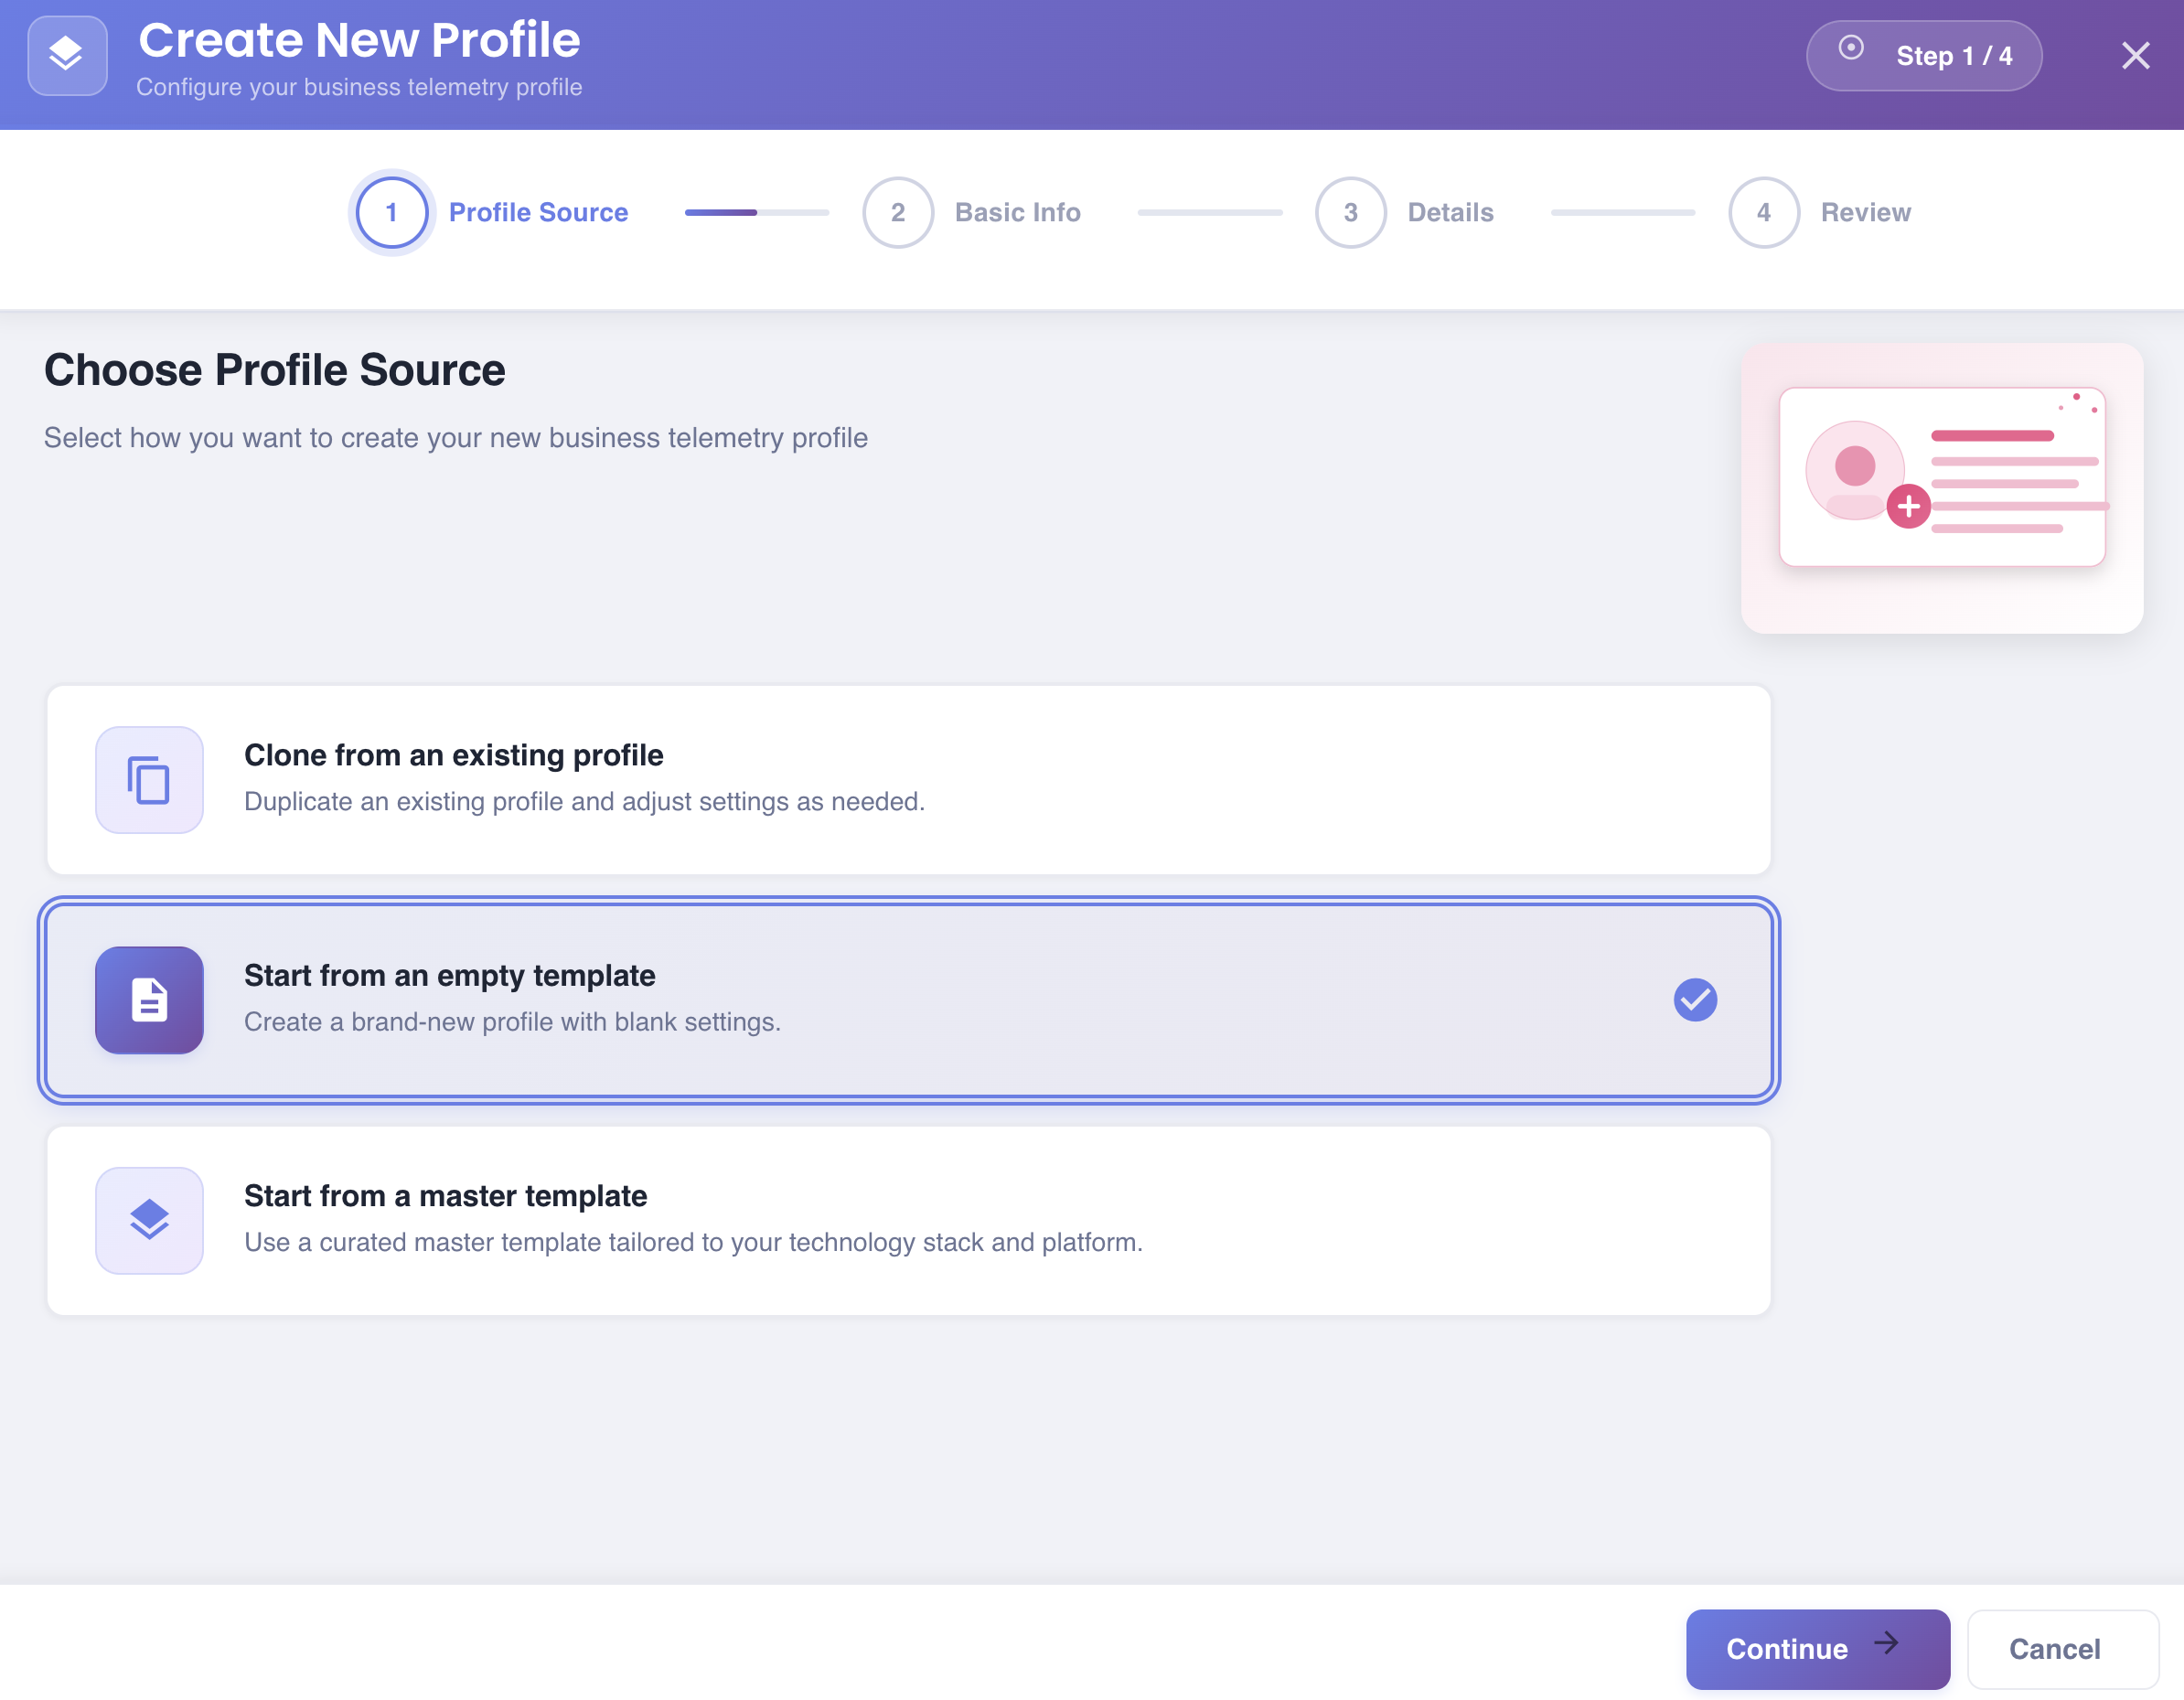
Create a brand-new profile with blank settings.
Step 2 — Details: Template Configuration
Classify the empty profile so BizMetry can correctly categorize it within your account.
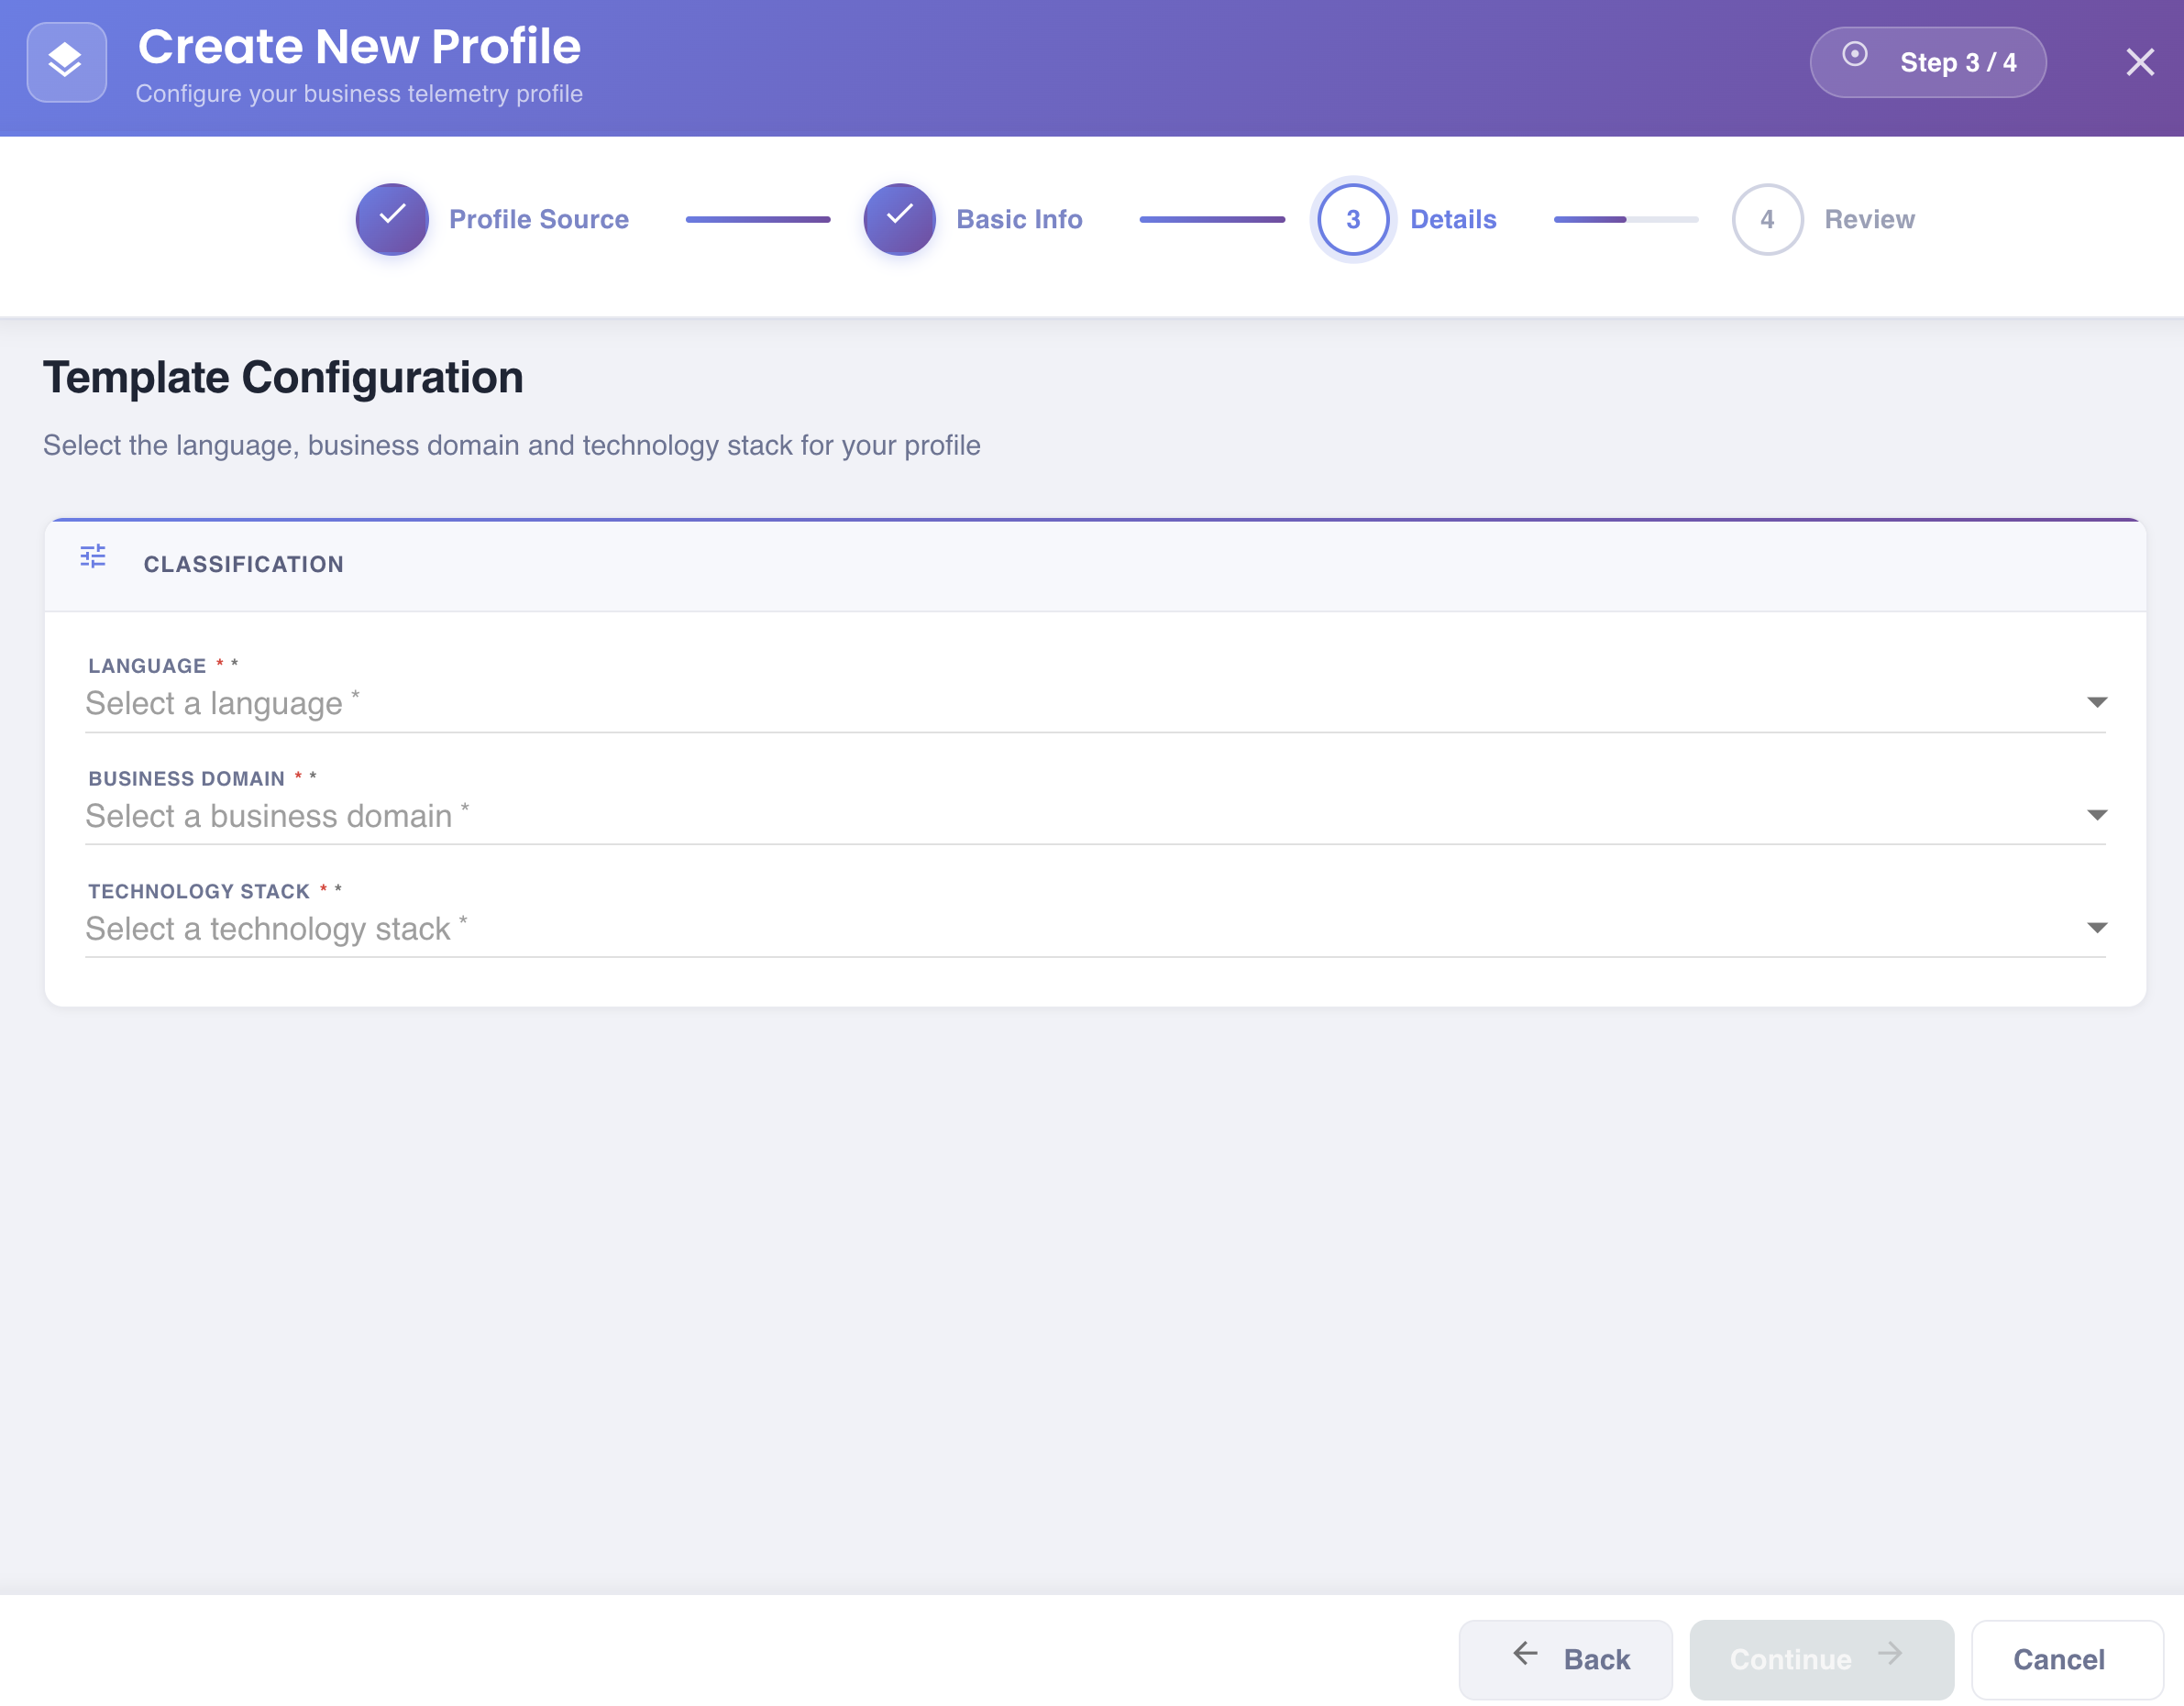
Under the CLASSIFICATION section, fill in the three required fields:
| Field | Required | Description |
|---|---|---|
| Language | Primary language for this profile's telemetry (e.g. English). | |
| Business Domain | The business vertical or industry this profile targets (e.g. Education, Banking, Healthcare, Retail). | |
| Technology Stack | The primary technology stack of the monitored system (e.g. Generic, Java Spring Boot, OpenAI). |
Classification does not constrain the template
These classification values are used for filtering and discovery within BizMetry. They do not constrain what you can build in the template — all resource types, frame definitions, and mappings can be freely created regardless of the classification chosen.
Click Continue to proceed.
Step 3 — Identity
By the time you reach this step, BizMetry already knows the Language, Business Domain, and Technology Stack you classified this profile with, so it generates the Profile Name and Project Name automatically the first time you land on this step.
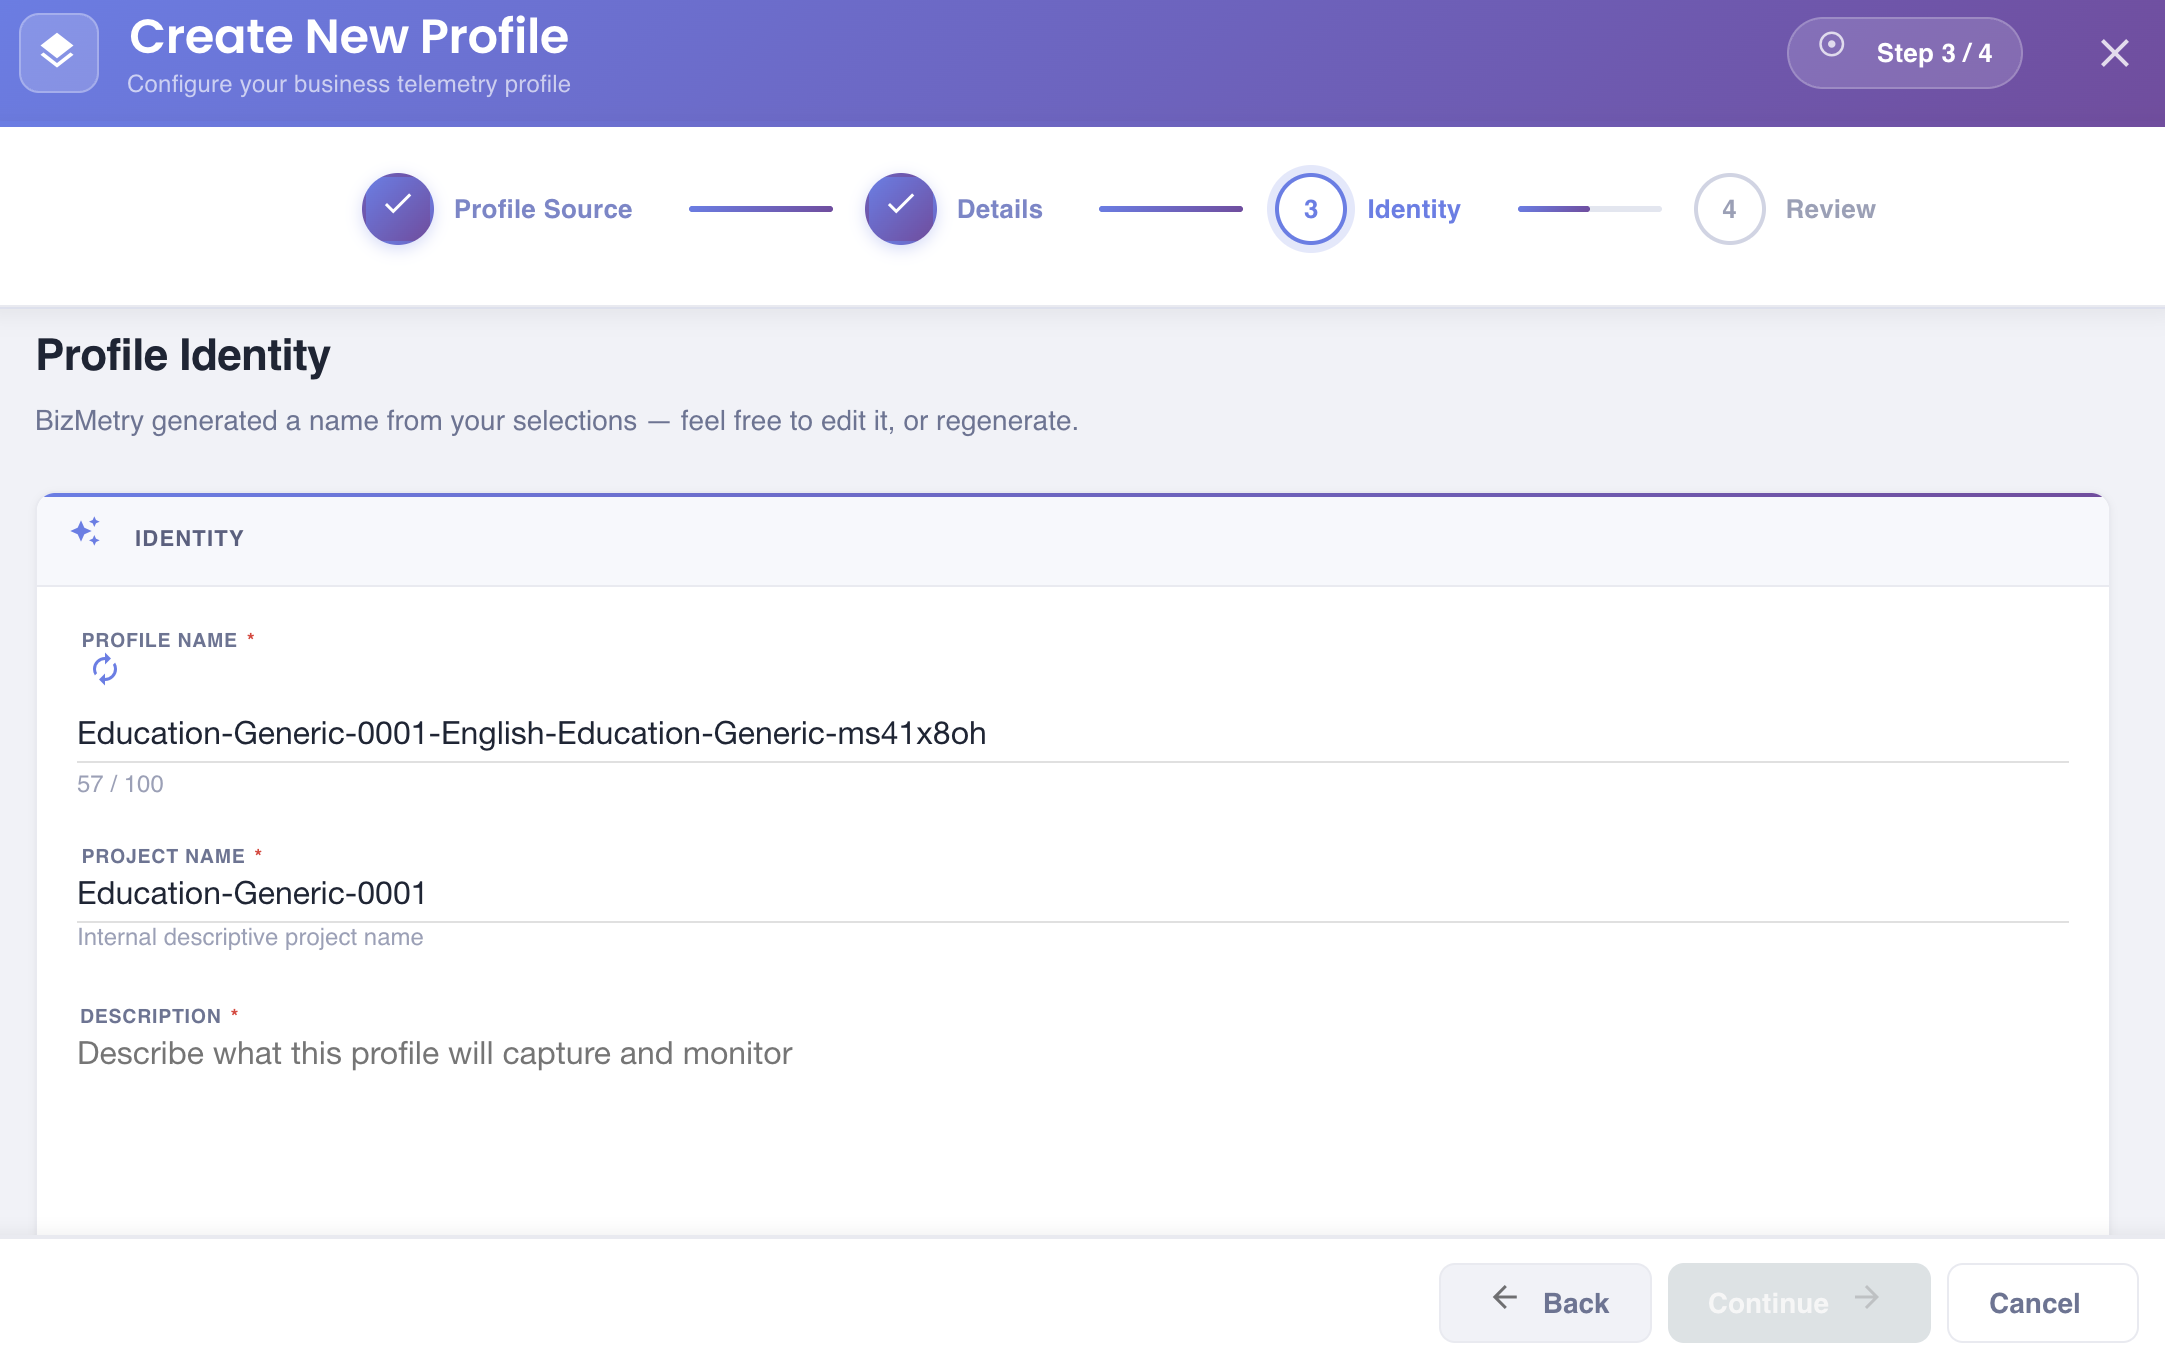
What gets generated
| Field | How it's generated |
|---|---|
| Project Name | {business-domain}-{technology-stack}-{NNNN} — a normalized slug of the Business Domain and Technology Stack chosen in Step 2, followed by a sequential 4-digit numerator (e.g. Fintech-Kafka-0001). The numerator auto-increments if a profile with that same Domain + Stack combination already exists in your account, so the next one becomes Fintech-Kafka-0002, and so on. |
| Profile Name | {project-name}-{language-domain-stack}-{time-serial} — built from the generated Project Name above, a slug of the Language/Business Domain/Technology Stack, and a short time-based serializer for uniqueness. |
| Description | Not auto-generated — enter it manually. |
You can still edit it
Both generated fields are just a starting point — edit either the same way you would type any other value. Once you edit the Profile Name, BizMetry stops touching it: going back to an earlier step and forward again won't overwrite an edit you already made.
If you want to discard your edits and get fresh auto-generated values instead — for example after changing the classification in Step 2 — click the Regenerate icon next to the Profile Name field.
Unique name validation
The Profile Name must be unique across your account. This is checked continuously as you type (or immediately after clicking Regenerate); if the name is already in use by another profile, BizMetry blocks you from continuing until you choose a different one.
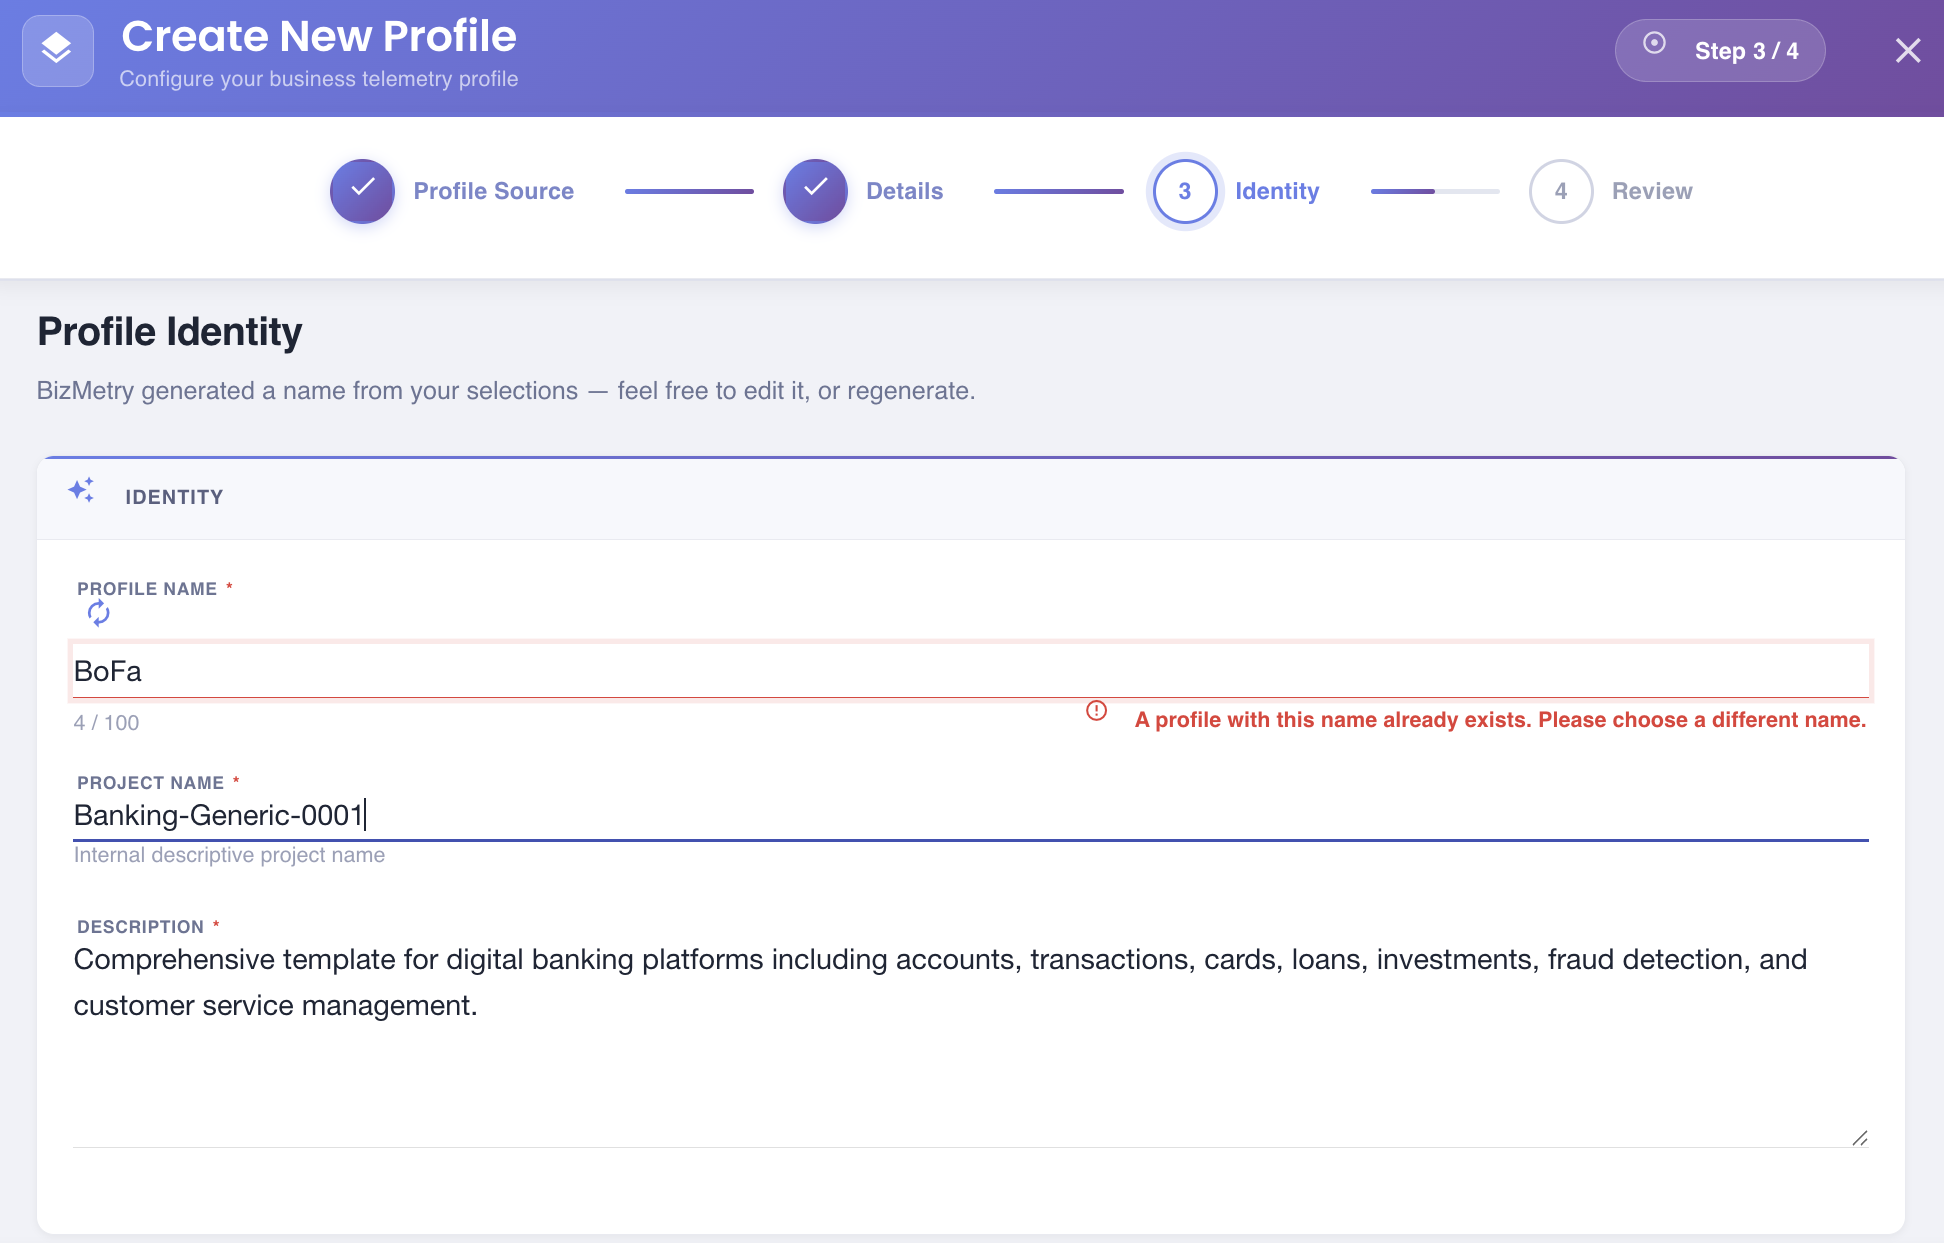
Click Continue to proceed.
Step 4 — Review & Confirm
A read-only summary of all choices made in the previous steps.
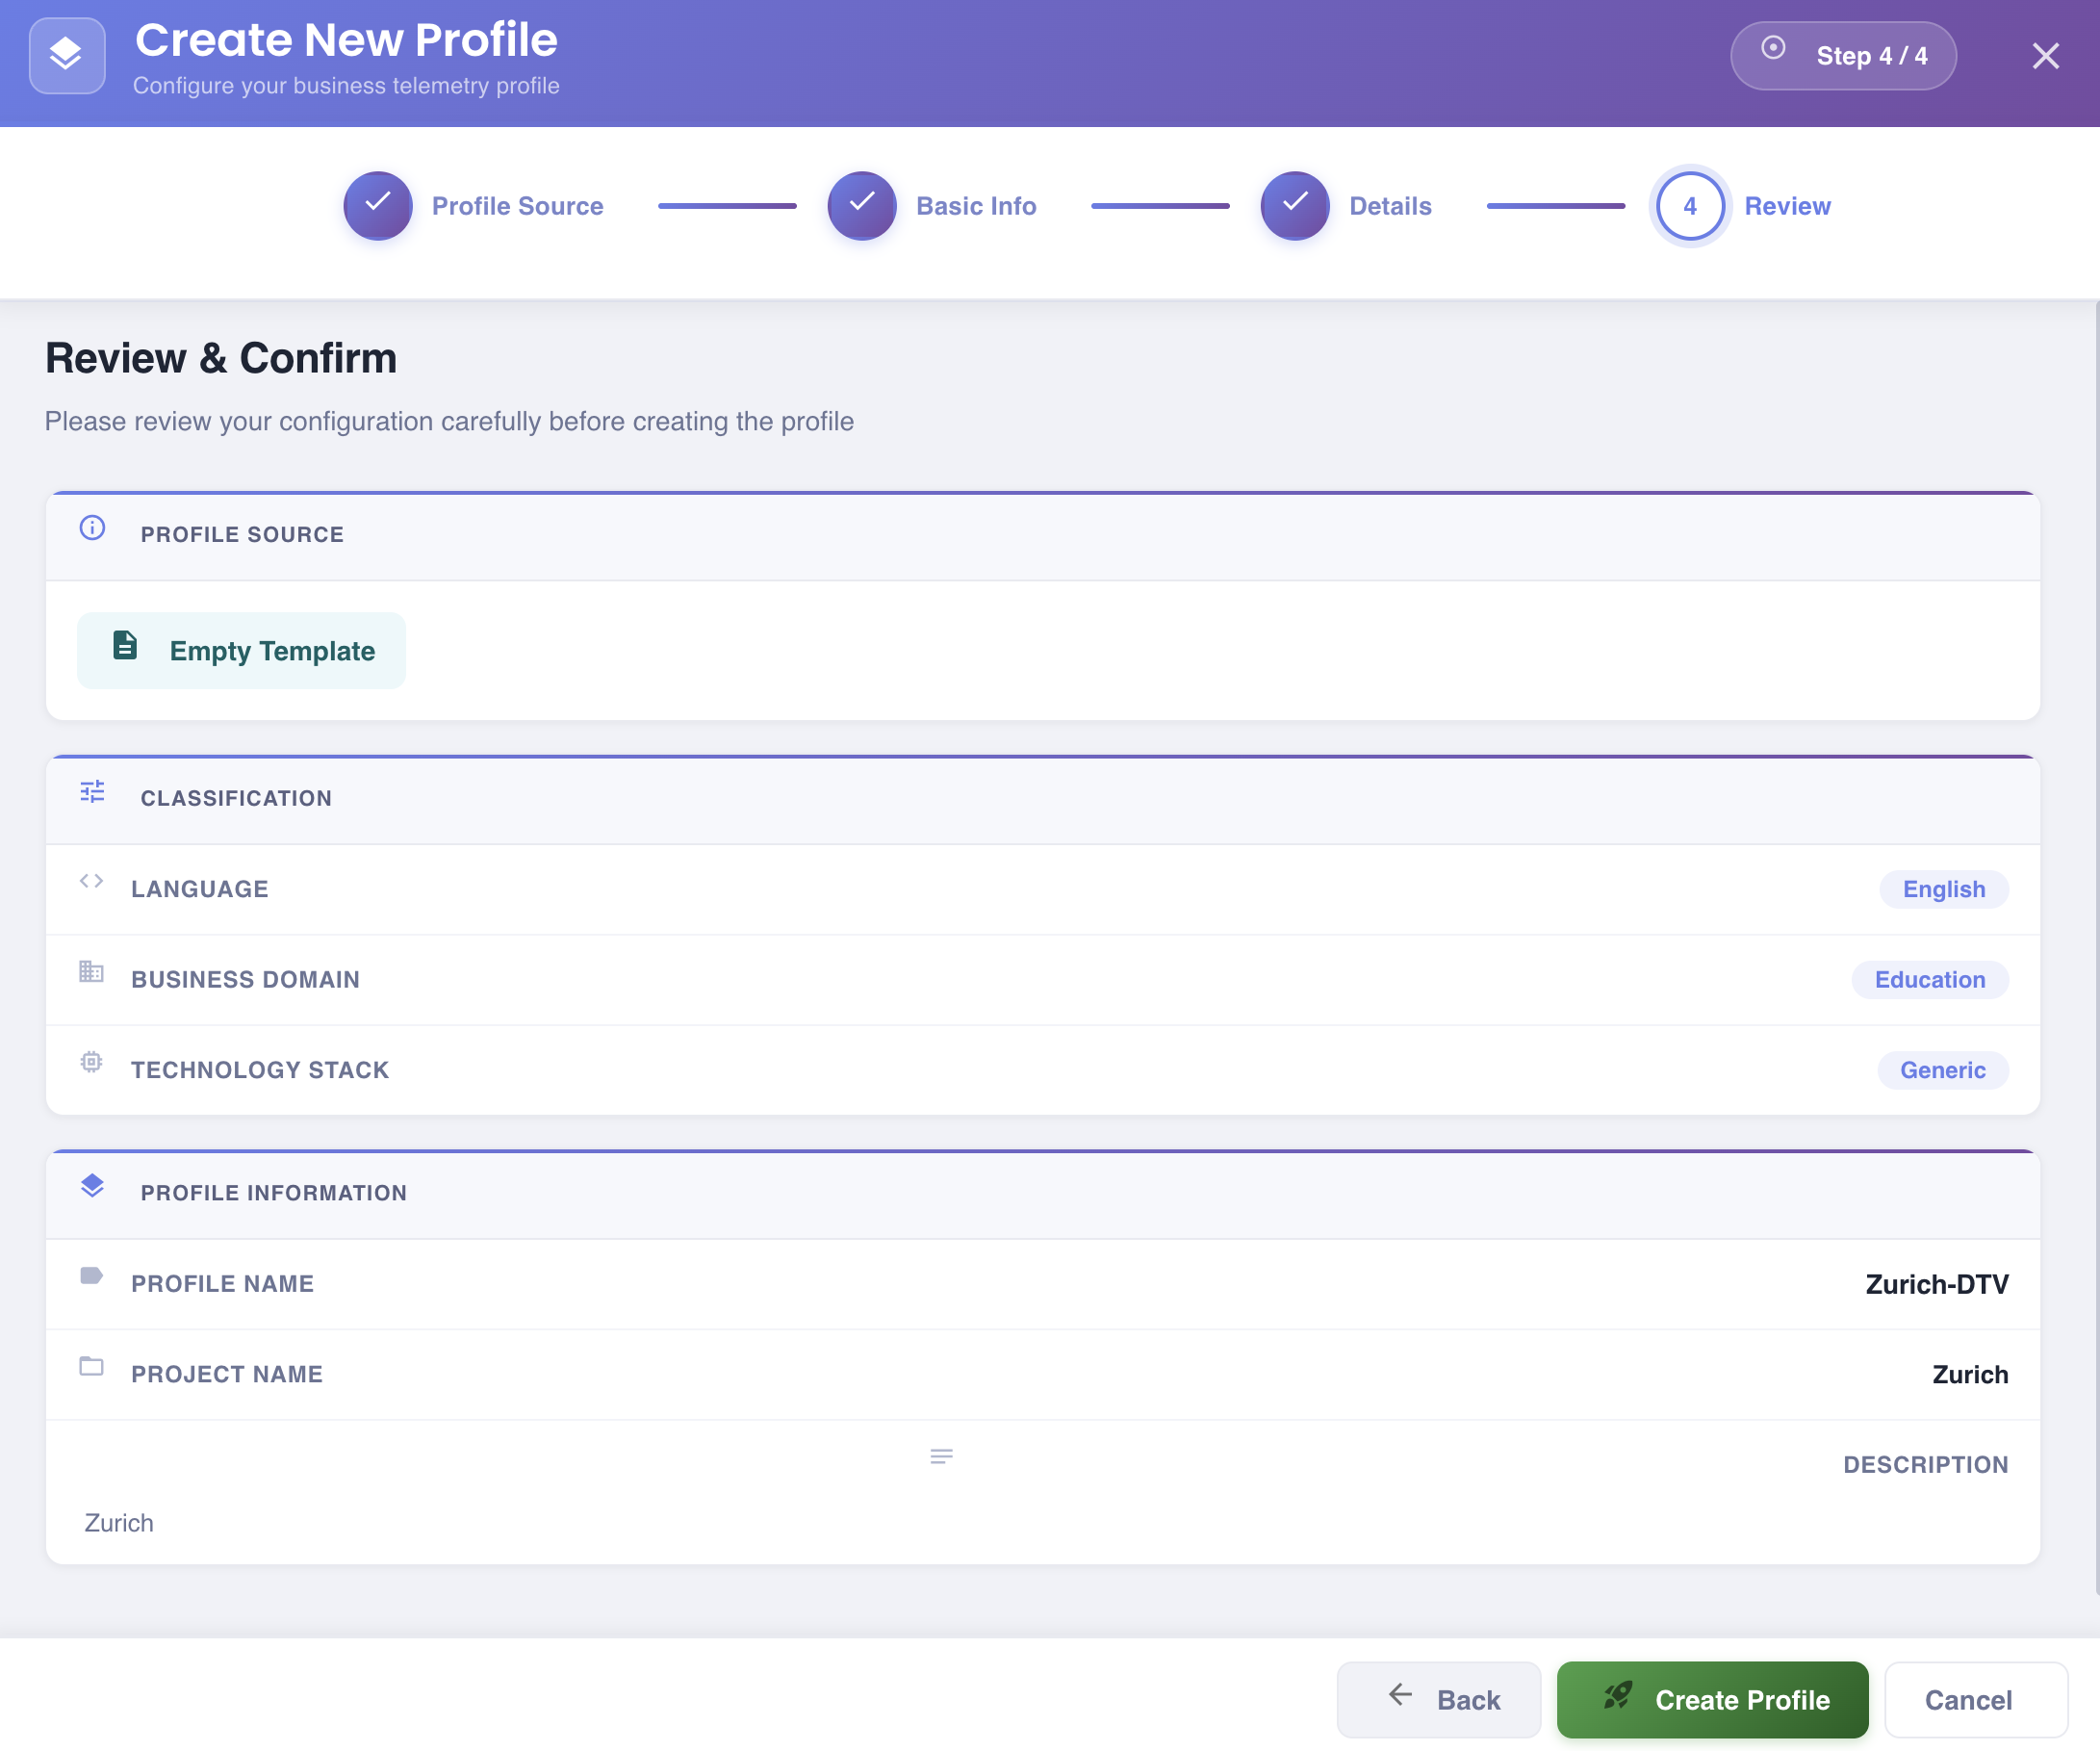
| Section | Fields shown |
|---|---|
| PROFILE SOURCE | Empty Template badge. |
| CLASSIFICATION | Language, Business Domain, Technology Stack. |
| PROFILE INFORMATION | Profile Name, Project Name, Description. |
Note that the Review screen for the empty template flow includes the CLASSIFICATION section — this is additional compared to the master template flow, which derives classification from the selected template.
Review all values carefully. Use Back to return to any step and make corrections.
Click Create Profile to complete the setup.
Next Steps
After creating an empty-template profile, the telemetry model must be built entirely from within the Profile. Start by:
- Opening the profile and navigating to the Template tab.
- Defining your Frame Types and ASBO structure.
- Registering Resources and setting up Environment Mappings.
- Deploying an Agent to begin data collection.